Just finished a big order today – some custom sublimated phone cases shipped out to an out-of-state client. Despite years of providing clients with vibrant gadget skins and decals using a challenging sublimation printing technique, there’s still room for more smoothness and consistency.
As I was packing, I remembered my first disastrous attempts at infusing dyes into fickle flexible vinyl polymers using heat and pressure. Also, I used to wonder, how can we sublimate white or dark cotton fabrics easily? If only I had a mentor to break things down step-by-step for me back then!
Just then, an idea struck – what if I formulate my learnings into an easy guide for others now exploring this printing style?
So, here I am, unveiling all the secrets to doing sublimation on vinyl, and with my knowledge, you won’t make the mistakes I did. Let us get started!
Understanding Sublimation on Vinyl
I still remember the lightbulb moment years ago when sublimated fabrics went in the wash without a smudge! Here are the main differences between different materials for sublimation:
● Fabric absorbs ink fast due to its pores, whereas vinyl does not absorb ink well and requires specialized techniques to add color.
● Former can handle heat well, but the latter one can get warped if it gets hotter than 400°F, so you need to be careful with the temperature settings.
● Unlike fabrics, how long vinyl items keep looking good really depends on how well they’re sealed and transferred after printing. If it’s not done right, you might end up with bubbles or peeling.
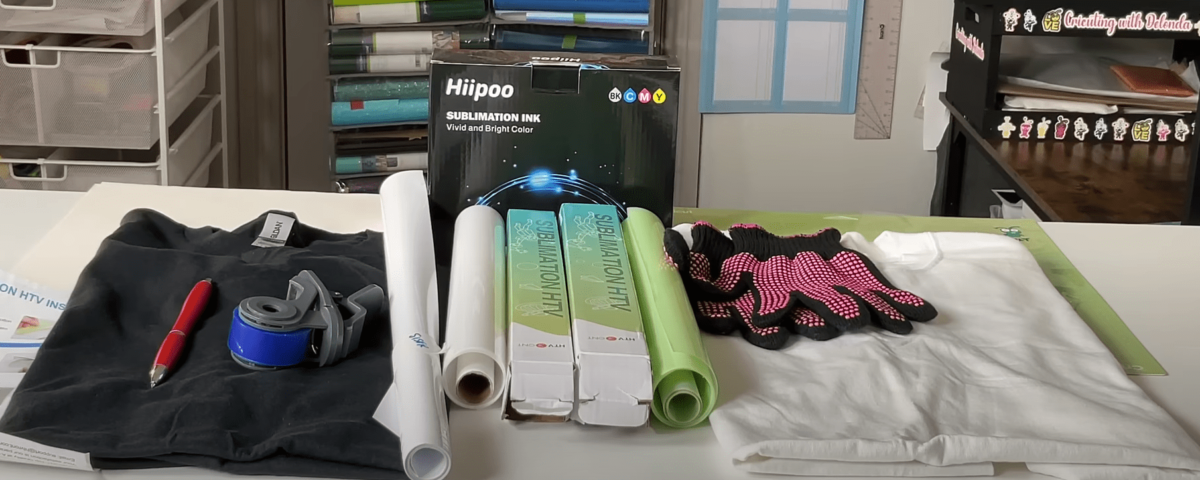
Materials and Tools Required for Submilmation on Vinyl
Ready to get started but overwhelmed figuring out supplies for durable vinyl sublimation? Here’s breaking down the essentials:
Sublimation Printer & Ink
You’ll need a compatible modern printer to replace standard ink cartridges with specialized sublimation toner. Once printed onto transfer paper, this ink “gassifies” under heat/pressure to infuse graphics into vinyl. Aim for at least 4800 x 1200 DPI capability, ensuring photorealism.
Heat Press
This equipment is an absolute must for applying calibrated heat up to 400°F. This is because it helps to activate sublimation inks on transfer paper. High-quality swing-away clam presses with digital displays provide the exact control needed over temperature and how long the pressure is applied.
Transfer Paper
These special clay-coated sheets receive your colorful mirrored prints before heat-adhering graphics permanently into blank vinyl items using the heat press.
Clear HTV for Sublimation
Of course, getting blank vinyl substrates with the right polymeric coatings is crucial for beautiful prints post-transfer. Verify composition specs before purchase to confirm suitability. I recommend matte or glossy effect PVC films for durability.
Sublimating Your Vinyl Creations from Start to Finish
Here’s breaking down the stages hands-on from pre-press prep to post-print finish:
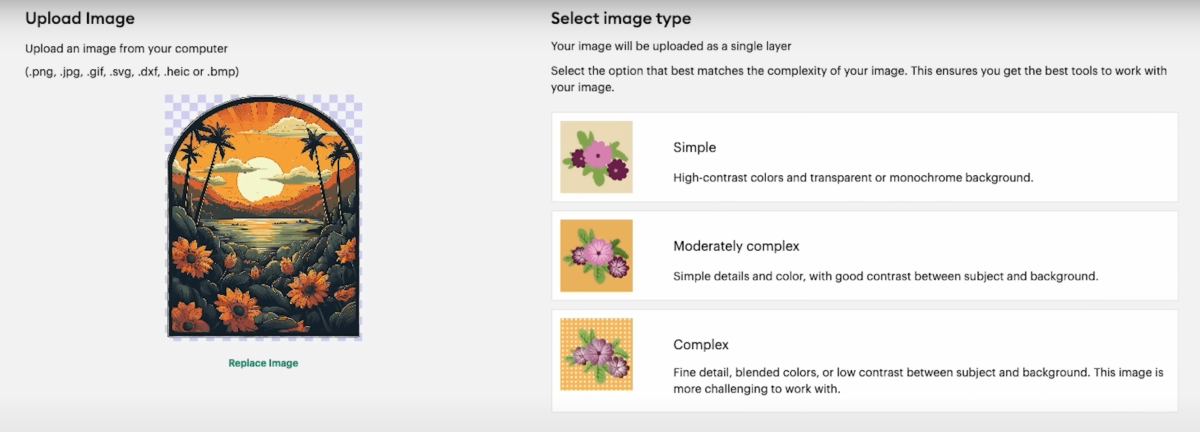
Step 1: Prepare Your Design
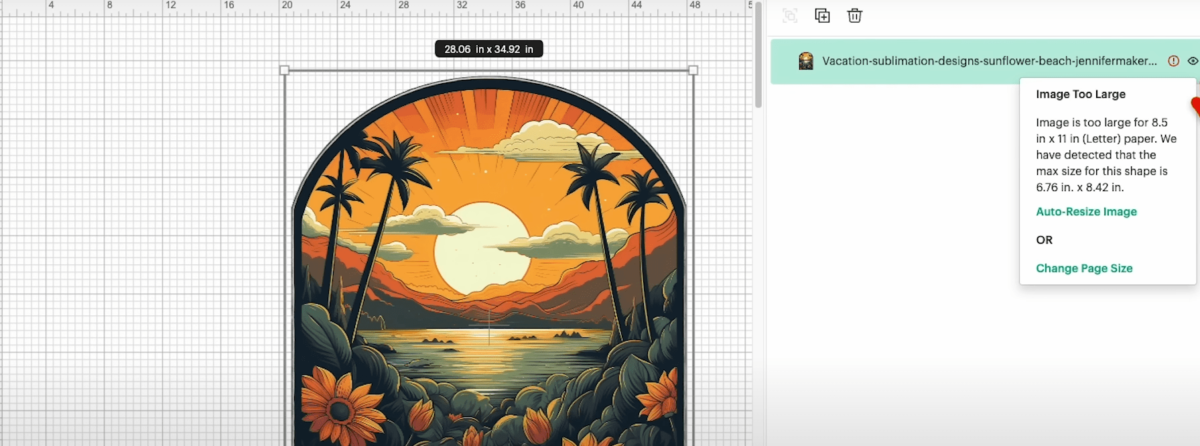
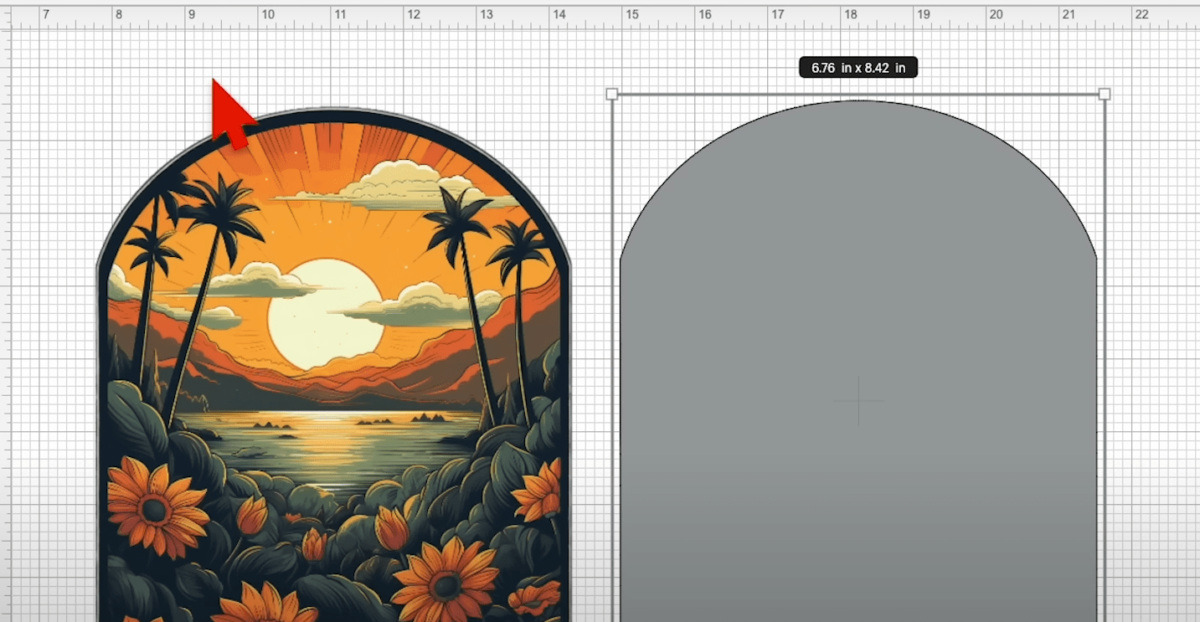
As always, we are using Cricut Design Space for preparing our image and clear HTV. Open the software and upload an image of your choice. Your design may appear larger than the paper size, so choose the option to ” Auto-Adjust “.
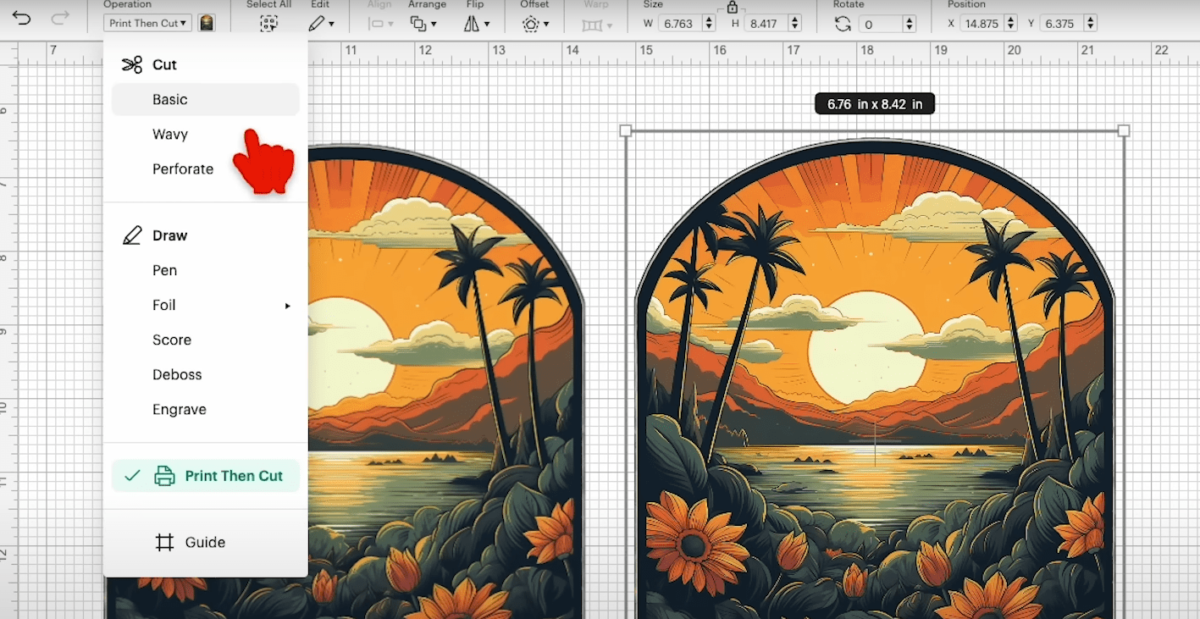
Since we need another layer beneath our design, therefore, we need to have an Offset with Basic Cut and Grey/White color. You can keep the size of your offset to be a bit bigger than the image to create a border.
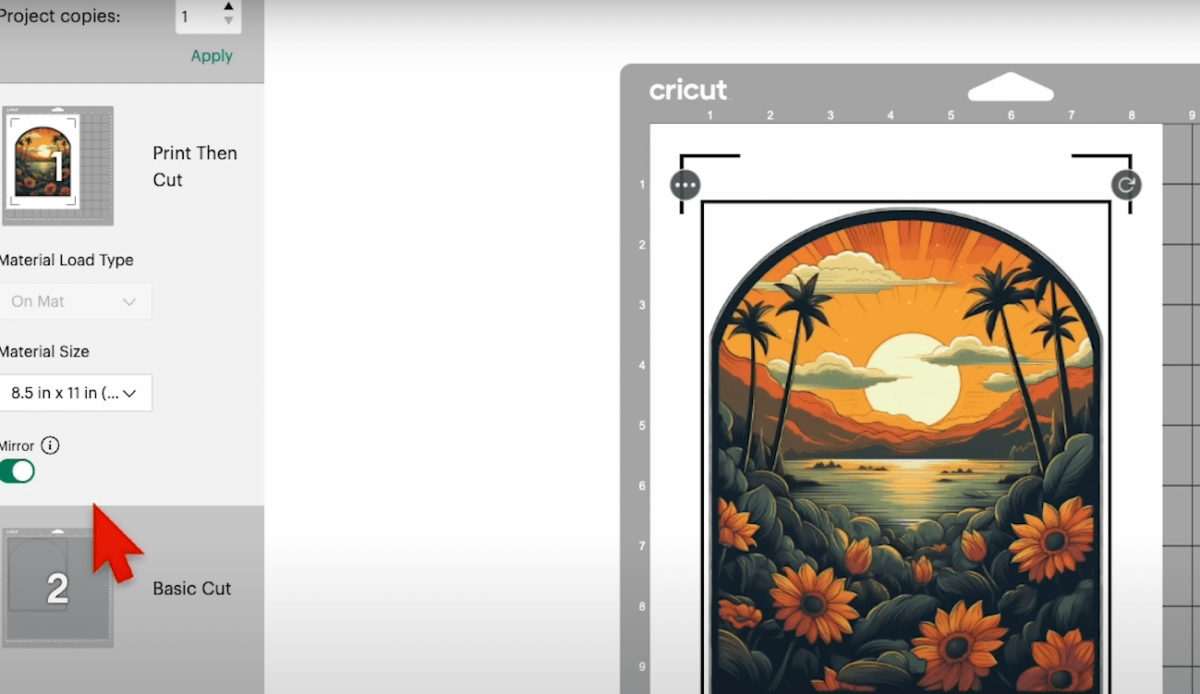
Click on ” Make Print ” to proceed and you will have two layers in front of you. Remember to choose ” Mirror ” for both the layers. Select the desired paper size and a bigger mat size.
Step 2: Print the Design
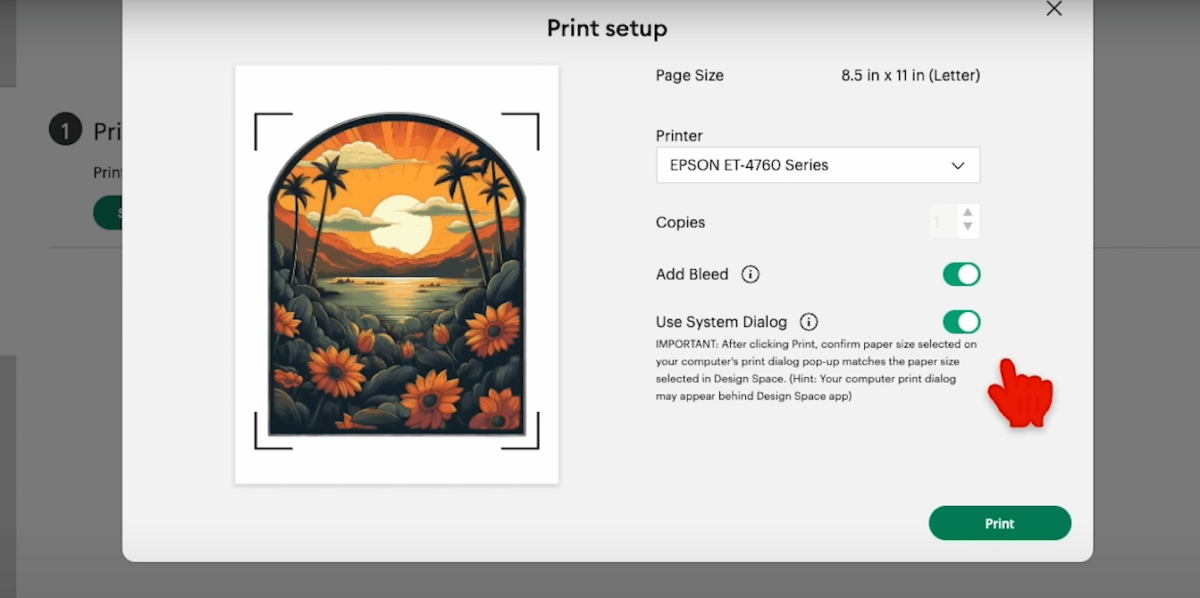
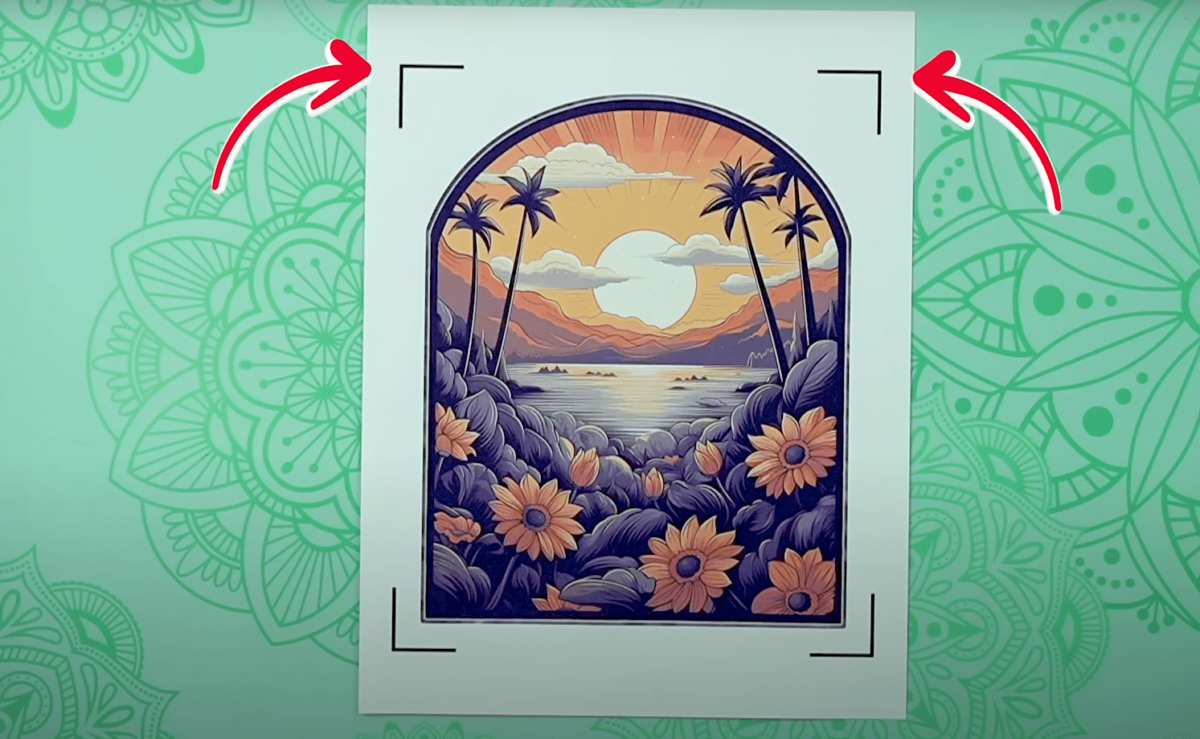
Insert a Sublimation Paper in your Inkjet converted Sublimation Printer and hit ” Print ” command on your design space. Select ” Add Bleed ” and ” Use System Dialog ” for more features. You can cut your printed design using Cricut Maker or roughly cut it around the edges manually. If you go ahead with Cricut Maker, then choose ” Photo Paper “
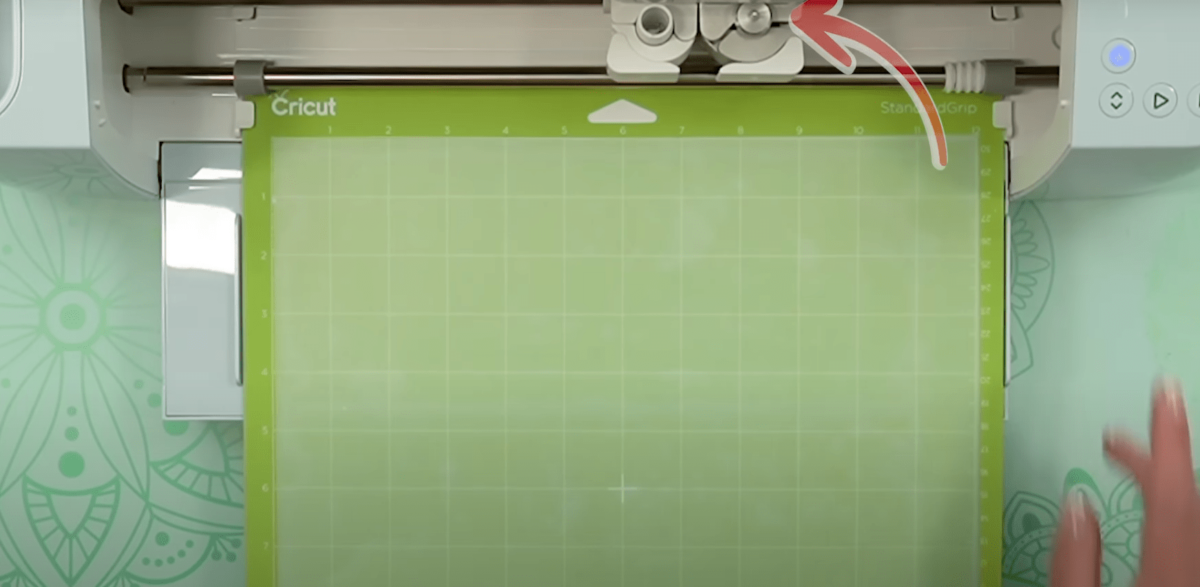
To prepare your clear HTV, place the same on top of your mat and insert it into Cricut Maker to cut it as per your image. Use ” Vinyl ” when asked in the software. Now both your design and vinyl is ready.
Step 3: Align & Press Transfers
Before adding the clear HTV on your t-shirt, make sure that you have used a lint roller to remove any dust or hair particles that may be present on your fabric. Now fold your tshirt into half and heat press for 15 seconds to make a centre crease and smoothen out your tshirt.
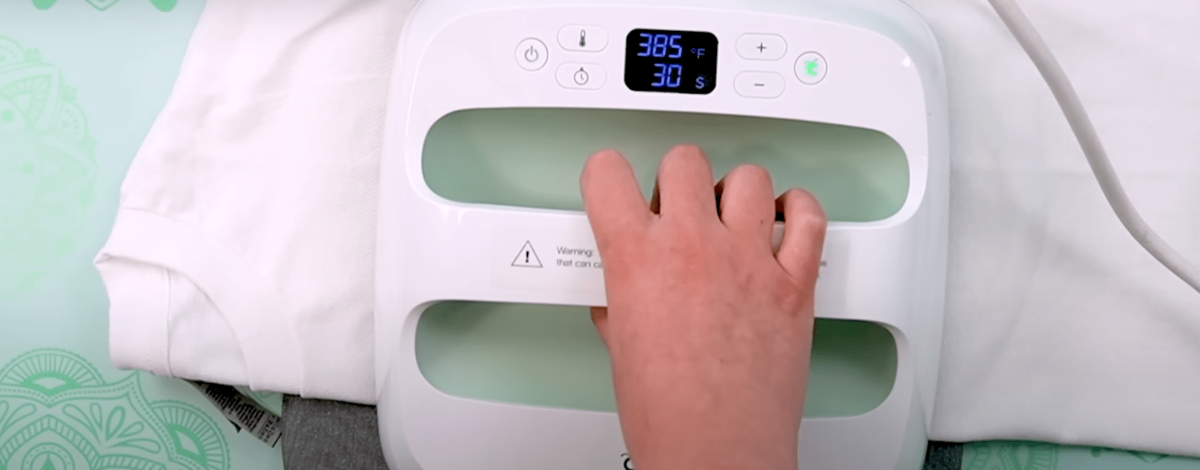
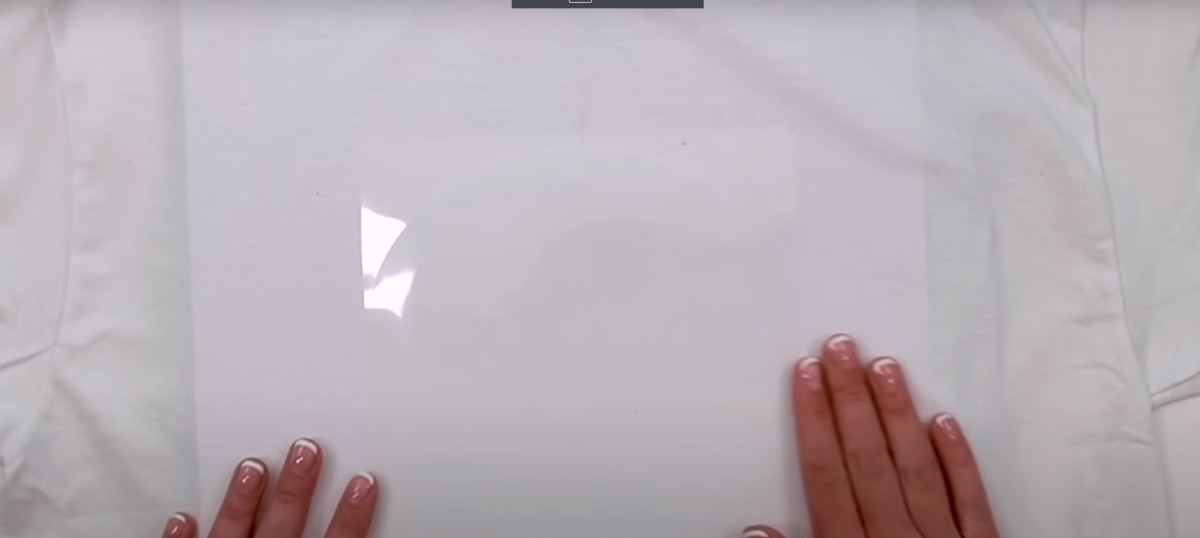
Place the clear heat transfer vinyl’s matte side on your tshirt and cover it with a butcher paper. Now heat press for 30 seconds at 385F. Remove the butcher paper and let the fabric cool down. After a few seconds, remove the vinyl.
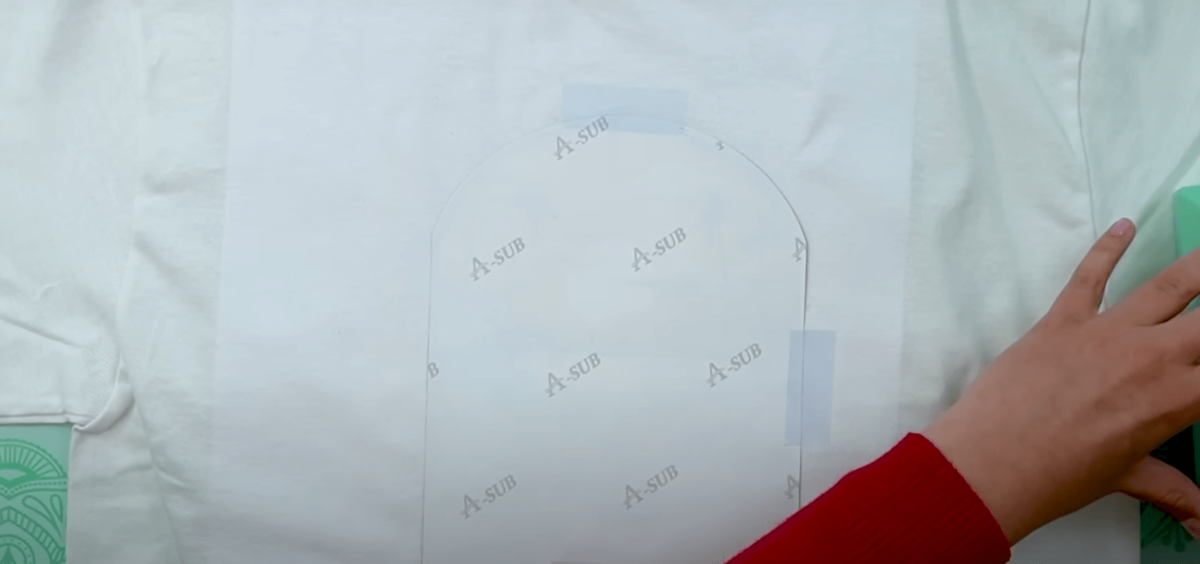
Be on your toes once you get your printouts; carefully align the inked transfer paper print-side down onto prepped blank vinyl. Place the printed design face down exactly on your vinyl surface. Secure edges with heat tape before gently lowering your heat press onto items for even pressure application across all surface grooves. Lock for 55 seconds at 385F, as vinyl can warp under extended 400°F exposure!
Step 4: Cool, Seal & Finish
After you press the vinyl and transfers, let them cool down while they’re still stacked together before you start peeling off the papers. If you rush it, you might smudge the ink before it’s had the chance to set correctly.
Any custom cutting for, say, rounded phone case edges can now proceed smoothly without chipping. And just like that, your dazzling vinyl sublimation result is ready!
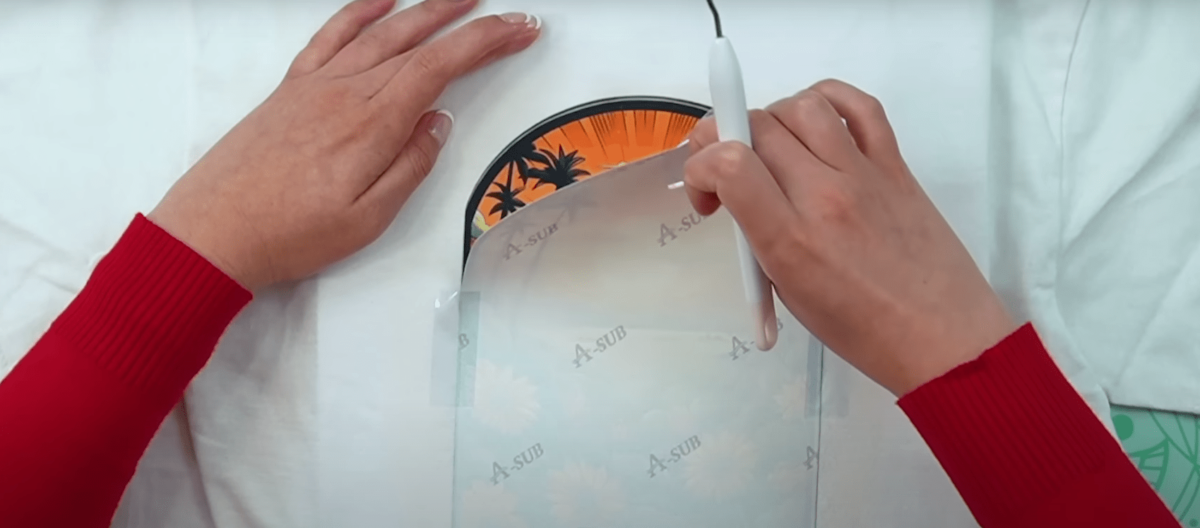
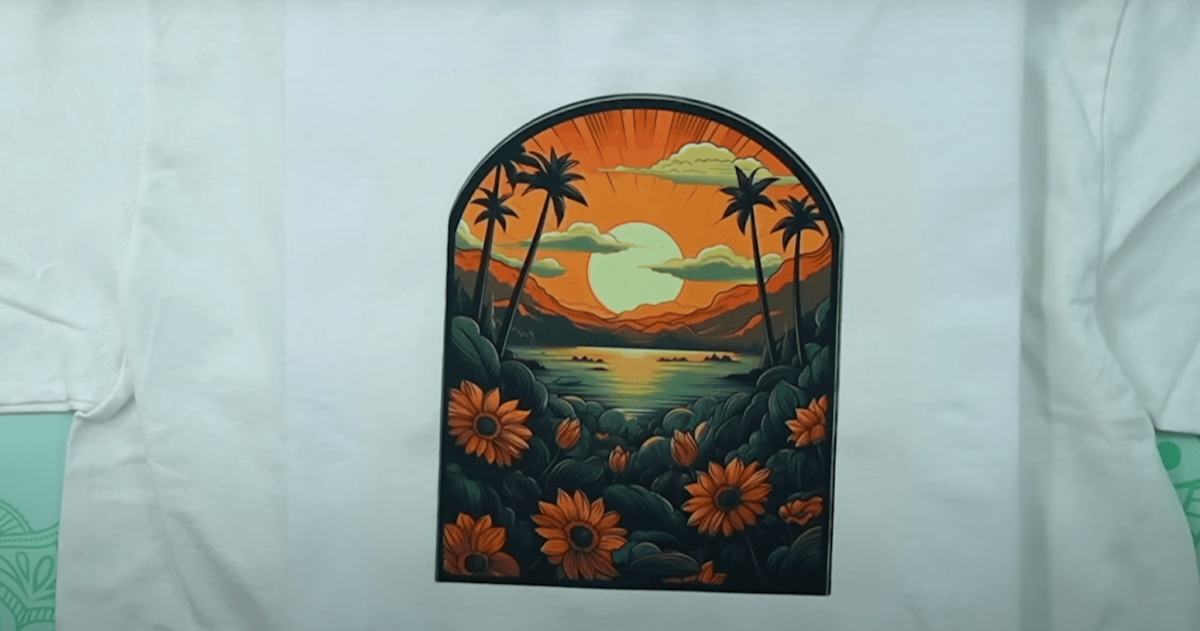
Image Credits: Jennifer Maker
Tips & Tricks to Prepare Your Design
Sure, getting the equipment right is super important, but adding that unique creative flair to vinyl products? That’s all about getting your art preparation on point. Here are my top design tips:
- Vibrant colors are musts when sublimating onto vinyl. Thankfully, most polymer substrates readily absorb rich secondary/tertiary pigments from transfer inks when molten. I use Adobe RGB spectrum swatches religiously to maximize wow factors!
- Remember, sublimated art must be printed in mirrored orientation onto transfer paper since the graphics flip orientation post-heat. Luckily, most graphic apps today automate these horizontal flips with a toggle. No more guessing games!
- I’m obsessed with Illustrator when crafting since vector files offer incredible scalability for diverse vinyl items without losing print quality. Layout templates also minimize paper/ink wastage. Invest time in mastering this or related tools like CorelDraw.
- Don’t overlook key software capabilities like color separation for multi-layered prints. This pre-optimizes complex graphics for sublimation transfer exactly as needed onto the blank slate vinyl awaiting your creative pop!
Final Thoughts
And there you have it, everyone – a beginner’s guide to permanently infusing vibrant print into vinyl items using sublimation! We covered polymer science, making stunning sublimated decals and cases possible.
From essential tools to pre- and post-press techniques for resilience – this guide captures the key learnings to master vinyl sublimation.
Sublimation mastery takes practice, like any art. But with the right setup and working knowledge, you can unleash creative rewards by customizing fickle plastics. Time to put your visions across personalized vinyl items!
