I have been in the sublimation printing business for the last 10 years. Initially, we used to print mainly on white or light-colored materials. If I talk about printing on t-shirts, then that white Gildan t-shirt was the go-to blank for us.
We always received compliments and great reviews about our designs and print quality, but they missed having the same in dark color t-shirts because why not? Not everyone would like to wear white t-shirts and they would want their favorite design printed on their favorite color.
Few of our customers have inkjet-converted sublimation printers at home, which they use for their online business, and they, too, wanted a solution to print on dark t-shirts or cotton t-shirts for their customers.

We then started doing some experiments with dark-colored T-shirts, but the results were always below average. You see, sublimation is all about infusing the ink into the surface, and since the ink is transparent, it gives a very faded look to those bright T-shirts. Moreover, that light print would fade away after a few washes.
The only long-term and high-quality solution we found was using vinyl to support our sublimation prints. We would use a white HTV along with a clear HTV to make those vibrant prints, and I would be more than happy to share that process with you.
But what if I tell you that an easier method is available in the market now, and we have been implementing that from past many months now? It is quicker, cost-efficient, and long-lasting than any other prior method for doing sublimation printing on dark t-shirts.
Although it fails the essence of sublimation printing because it creates a layer on your t-shirt, we can put our printer to use for dark or cotton t-shirts by using this method only.
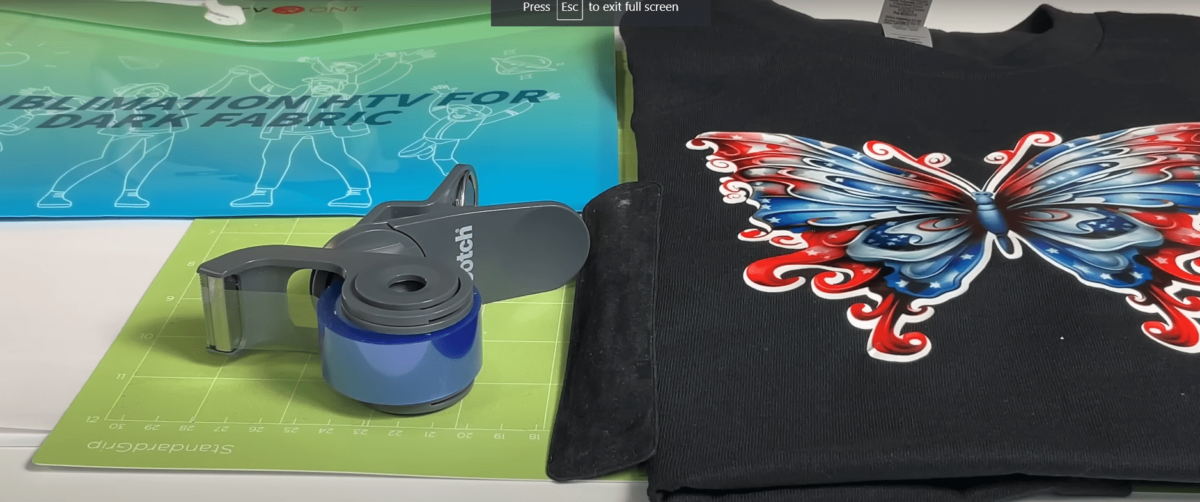
HTV Ront recently launched their Sublimation HTV for Dark Fabric sheets/roll, which has been a community-wide success. The process I am about to share uses the same set of HTV sheets.
For this process, you would need the following:
- HTV Ront’s Sublimation HTV for Dark Fabric
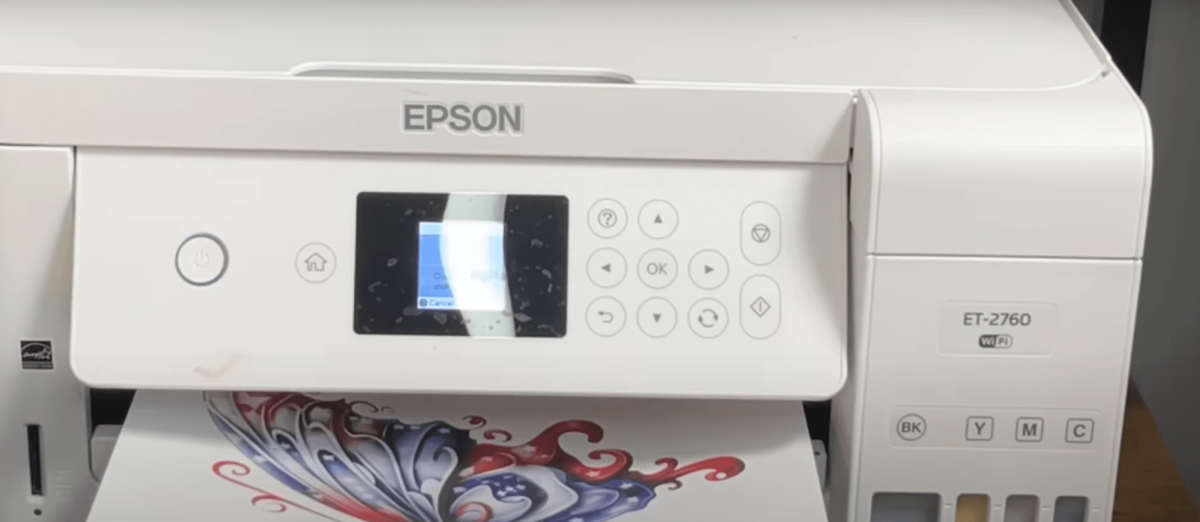
- Sublimation Printer like Epson Ecotank 2750 or similar
- Sublimation Paper – Preferable A-Sub
- Heat Resistant Tape – Cricut
- Heat Press – Cricut/Heat Nation or any other brand
- Butcher Paper – Any
- Designing software like Cricut Design Space
- Laser Cutting Maschine like Cricut Maker
- Cricut Mat
I will try to lay down the steps in as much detail as possible, but, just a precautionary measure – Do play with Heat Press settings or your printer’s profile if you are not getting the desired results.
Step 1: Get Your Design Ready
In this tutorial, we are using Cricut Design Space, which is easy to use and connects efficiently with our Cricut Maker.
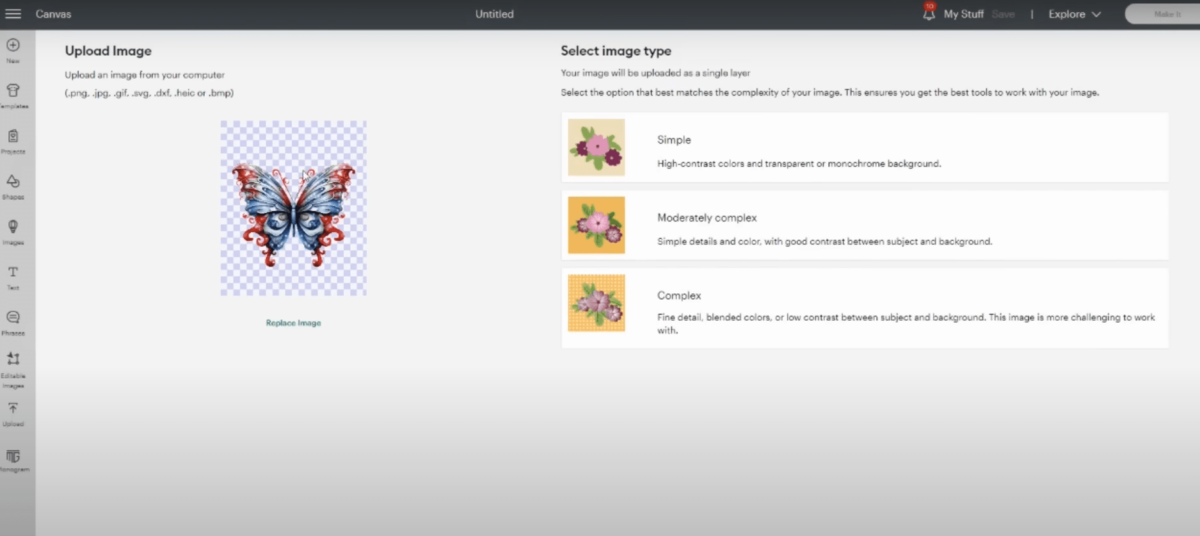
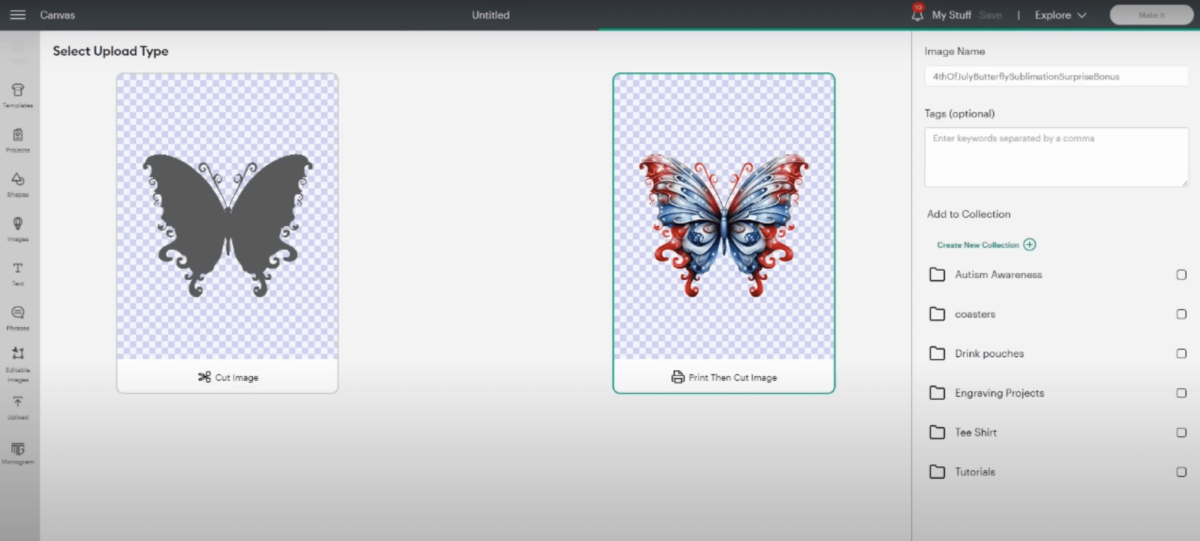
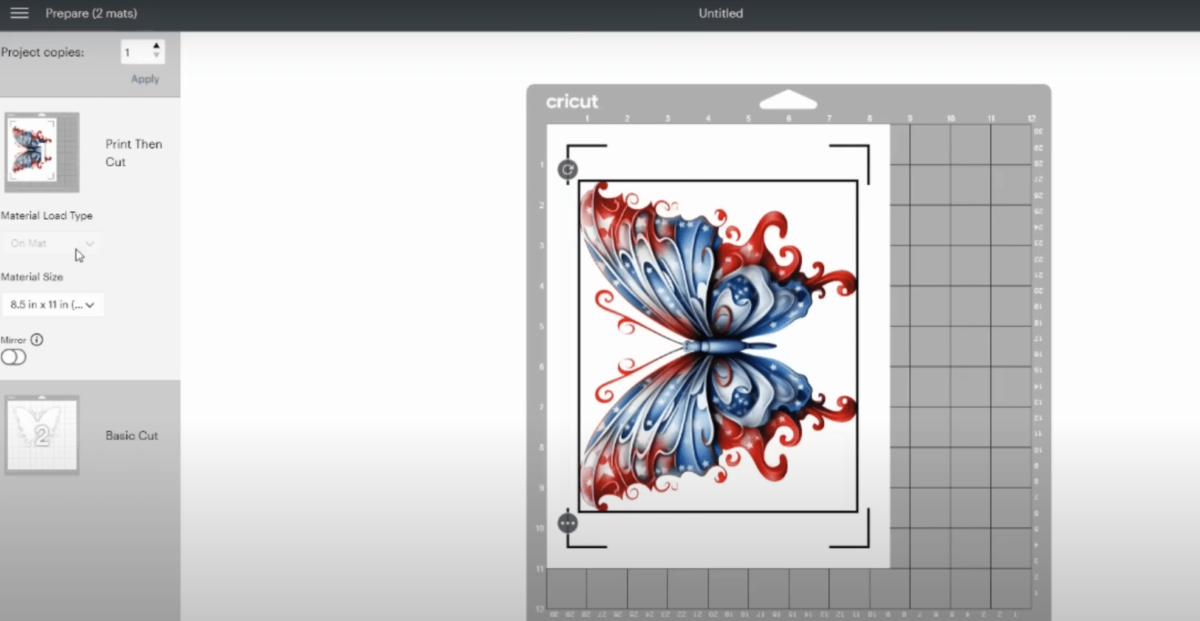
Open Cricut Design Space. Then, Upload an Image in PNG or SVG format. Once your image appears in the library, select it and click on “ Add To Canvas. ” You will see two options, and you need to select “ Print Then Cut. “
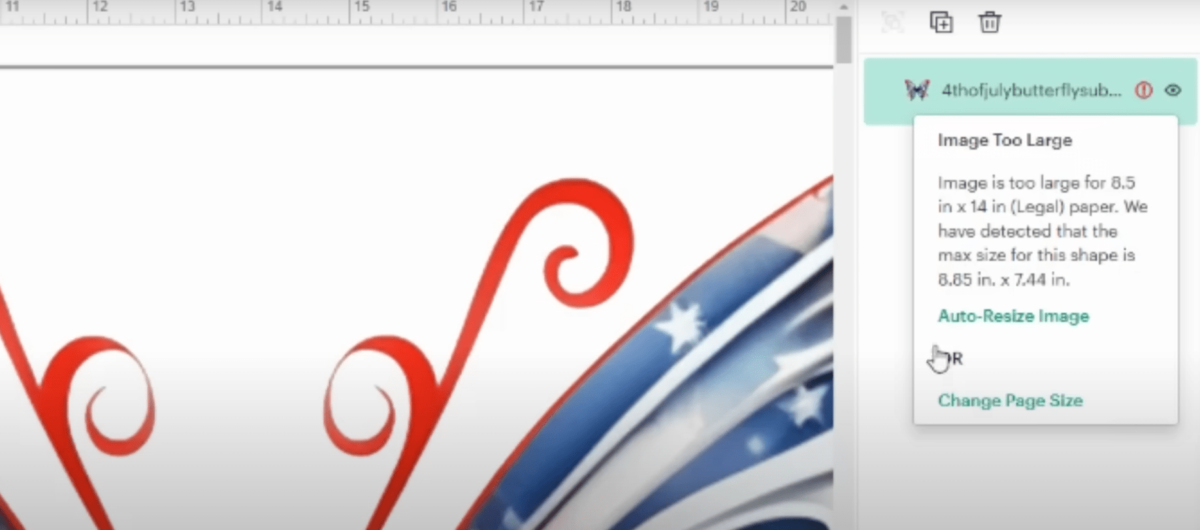
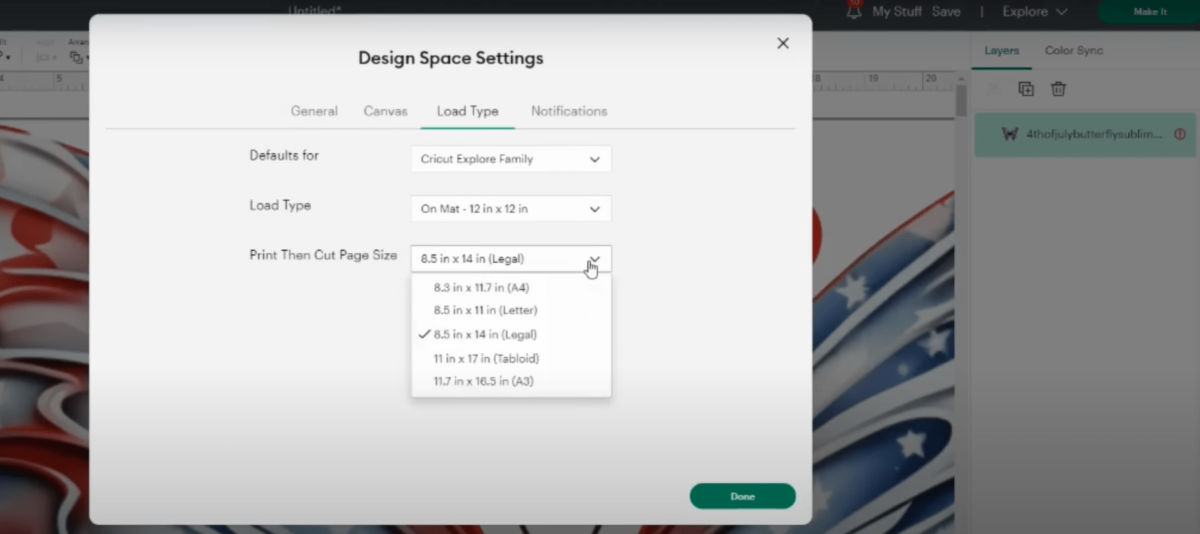
Once you see your canvas, you may find a warning sign on the right-hand side that says to either increase the paper size or decrease the image size. This happens because the image does not automatically adjust itself to your paper size. So, you can click on “ Auto-Adjust “ to resolve this issue. Here, we are using A-Sub 8.5” x 11” Sublimation Paper.
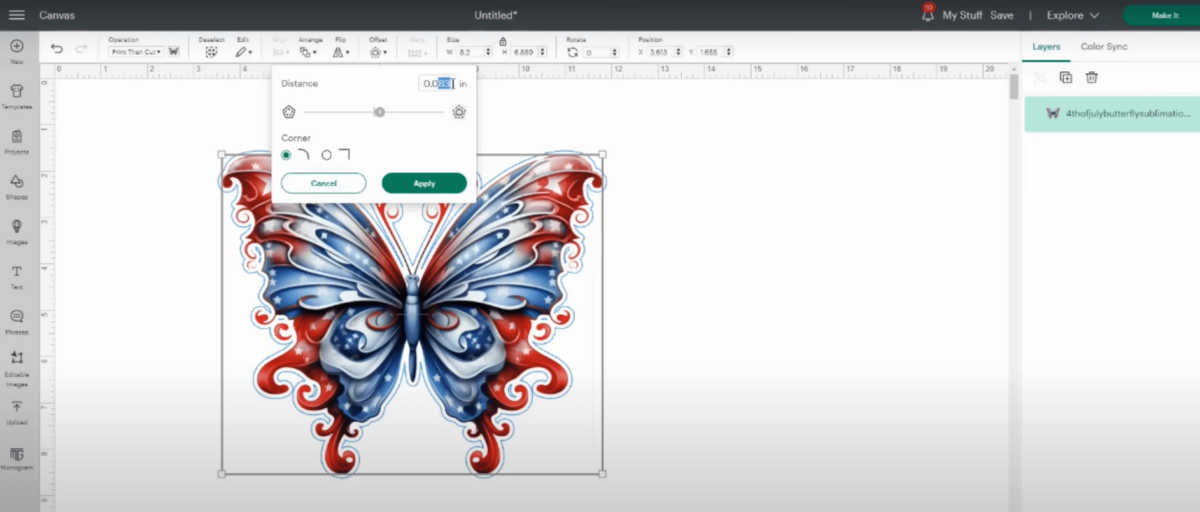
After this, you can add an offset to your image. An offset creates a border around your image, and you can decide its width by going to the Offset option in the menu bar. This means that your HTV will be slightly bigger than your main image to give that border effect.
We use it to be “ 0.075 “ if we want a small border and “ 0.125 “ if we want a thick border. You can change the color of your offset to white.
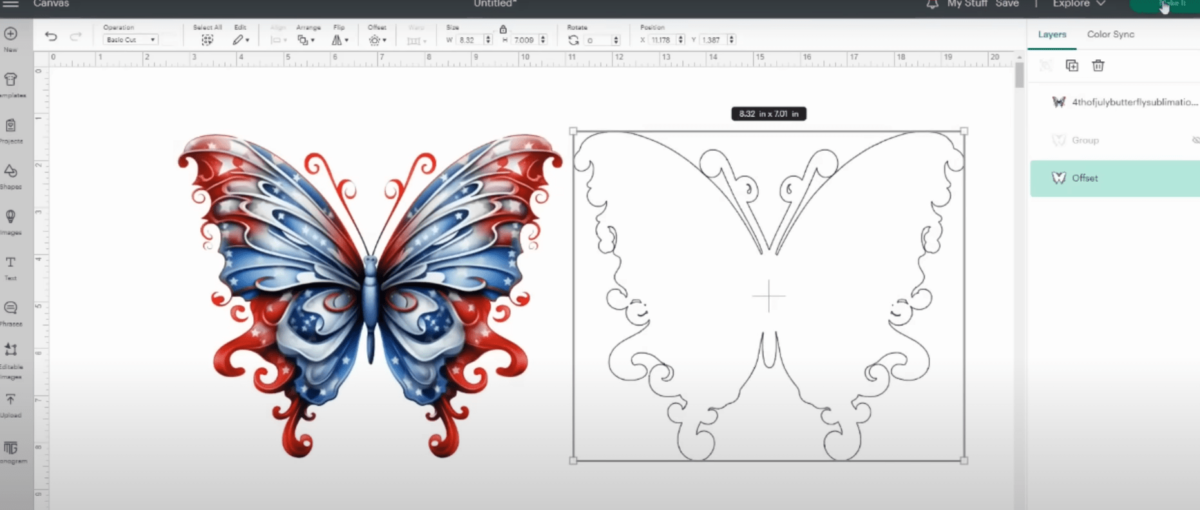
Now, you will see two layers on the right side. One is your main image, and the other is the offset.
If you do not wish to have any border around your image, then do not select Offset and just add a Basic Cut from the menu bar. This also creates two layers similar to what we discussed recently.
Step 2: Print Your Design and HTV.
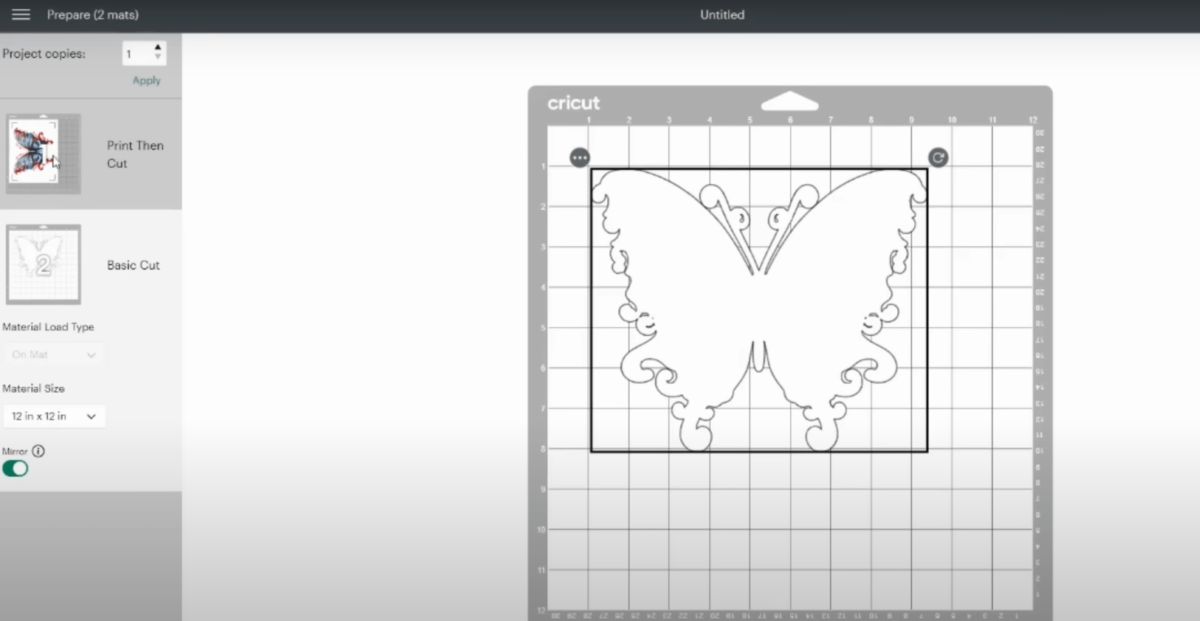
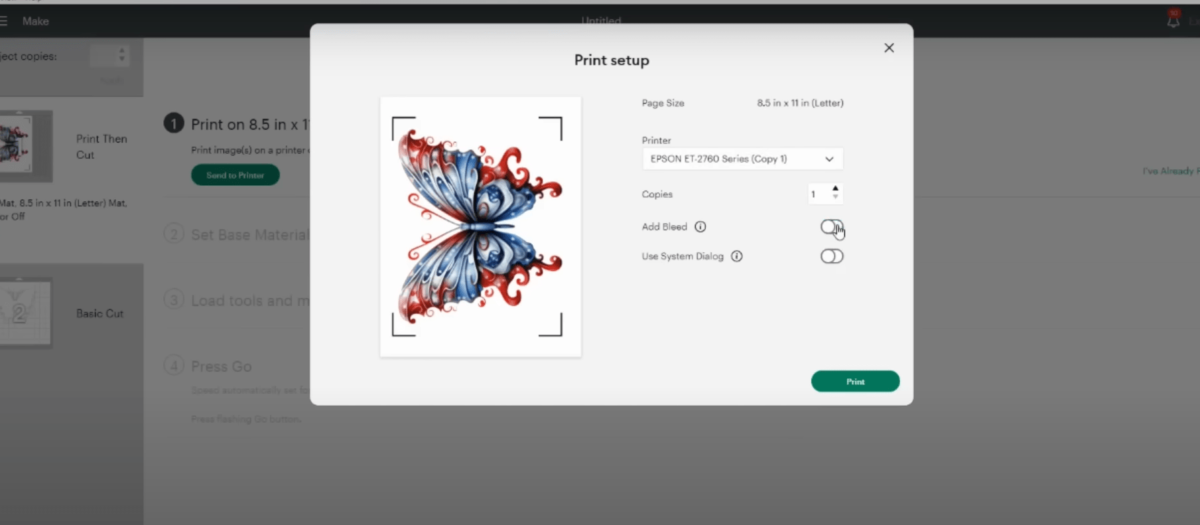
Click on “ Make, “ and you will see a screen with two of your layers on the left-hand side. You need to print them one by one. First, we will print the main image on Sublimation Paper. Choose the paper size, Toggle On the Mirror Option, and hit print. In further options, remember to deselect “ Add Bleed. “
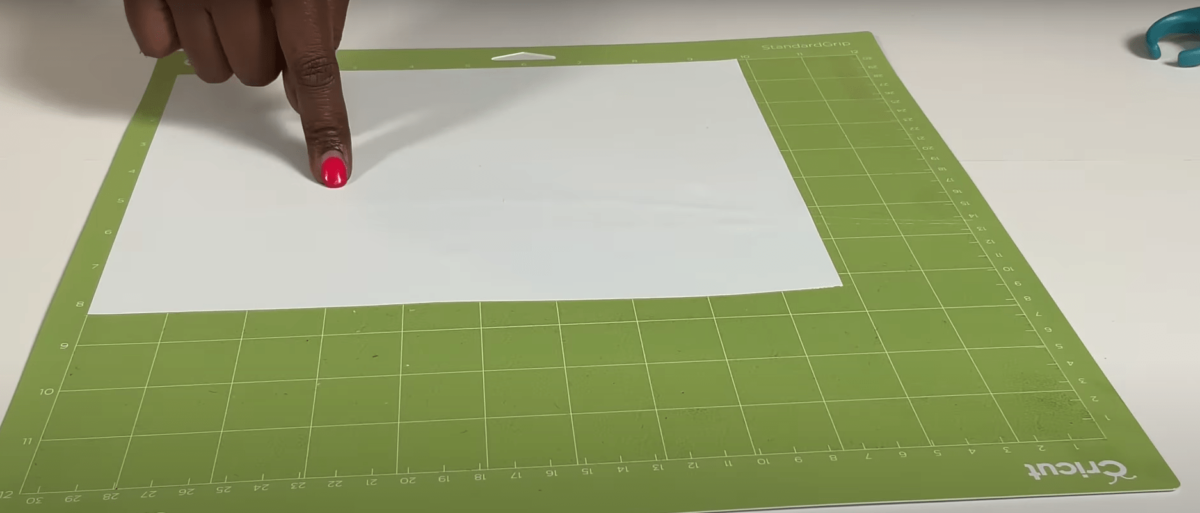
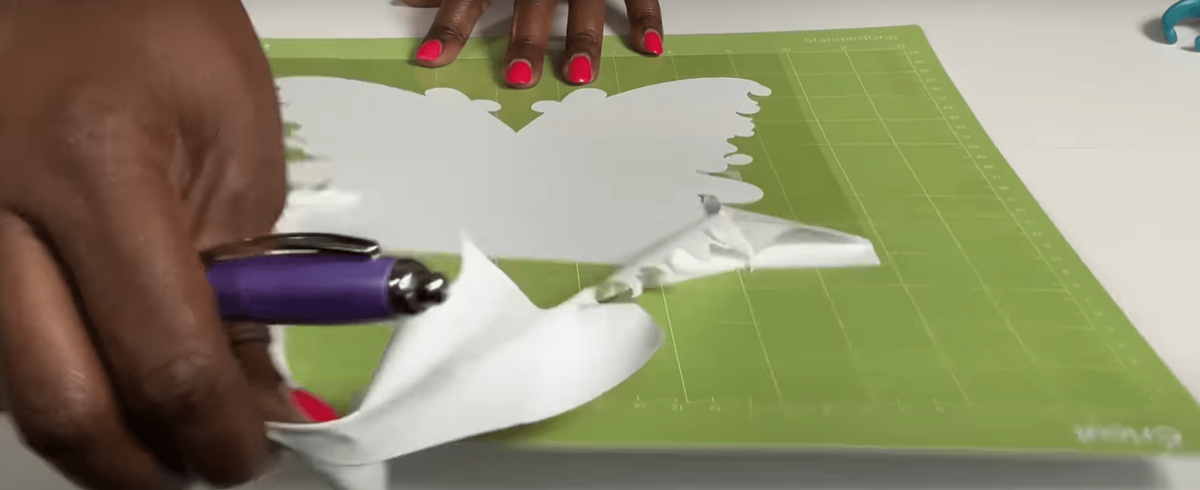
Once your design is printed, you will be asked to select the option to cut your image. You can either roughly cut it manually so that the design remains intact and extra white space is removed, or you can use Cricut Maker to cut your design precisely.
Now, you have to select that second layer, which will be your Offset layer, and you need to select your paper size and Toggle the On Mirror Option. Add HTV to your printer and use Cricut Maker to laser cut your sheet. Use a Weeding Tool to remove the extra white layer from your HTV sheet.

Step 3: Add HTV to your Shirt
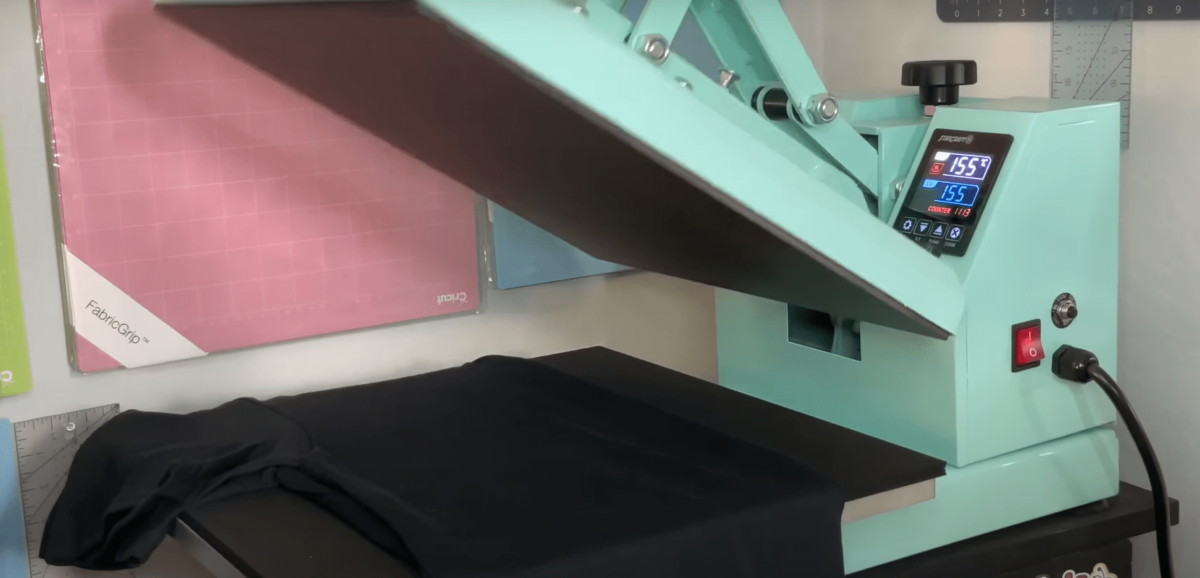
Now, we move on to the Heat Press section. Preheat your machine to 310F for a minute. Fold Your Dark T-shirt in half to add a center crease. Add a butcher paper for additional safety. Press your shirt using the machine for just 5-6 seconds to remove any wrinkles. You can also use a Lint Roller to remove any dust or lint from your blank.
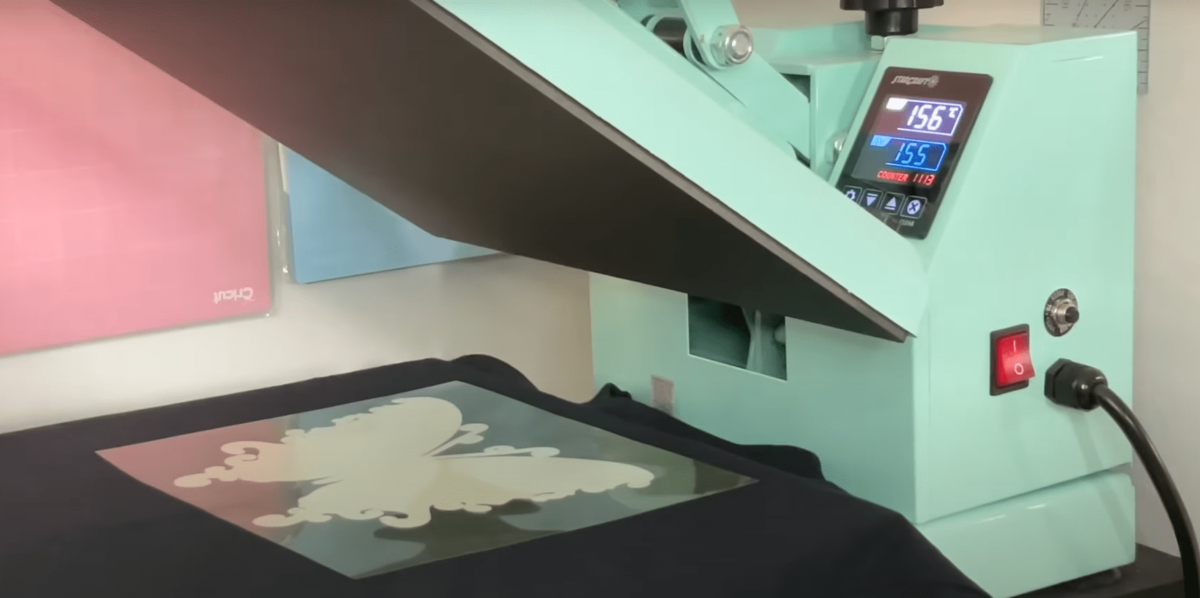
Now, place your HTV sheet onto the t-shirt by aligning it properly. Use the heat press, keeping the temperature at 310F and the duration at 8 seconds. Since it’s a cold peel, let your t-shirt cool down for some time. After a few minutes, remove that clear vinyl, and you will see a beautiful white design printed on your t-shirt.

Step 4: Add your Image onto the HTV
Now, carefully align your image onto the HTV and make sure that it’s edge to edge. If you are using an offset, it gives you an advantage because your HTV would be slightly bigger, but if you are just using a Basic Cut, you have to be more cautious.
You can use cardboard stock inside your shirt so that even pressure is applied. Also, do not forget to add butcher paper over your sublimation paper, as it helps avoid any ink bleed to your t-shirt or heat press.
Once your design is aligned, you need to use a Heat Press at 375F for 55 seconds to ensure that enough heat is provided for infusing that sublimation ink only on Vinyl. The pressure should be strong, so you should avoid using hand-held heat presses.
After 55 seconds, take out your t-shirt from the heat press and wait for 15 more seconds before removing the sublimation paper.
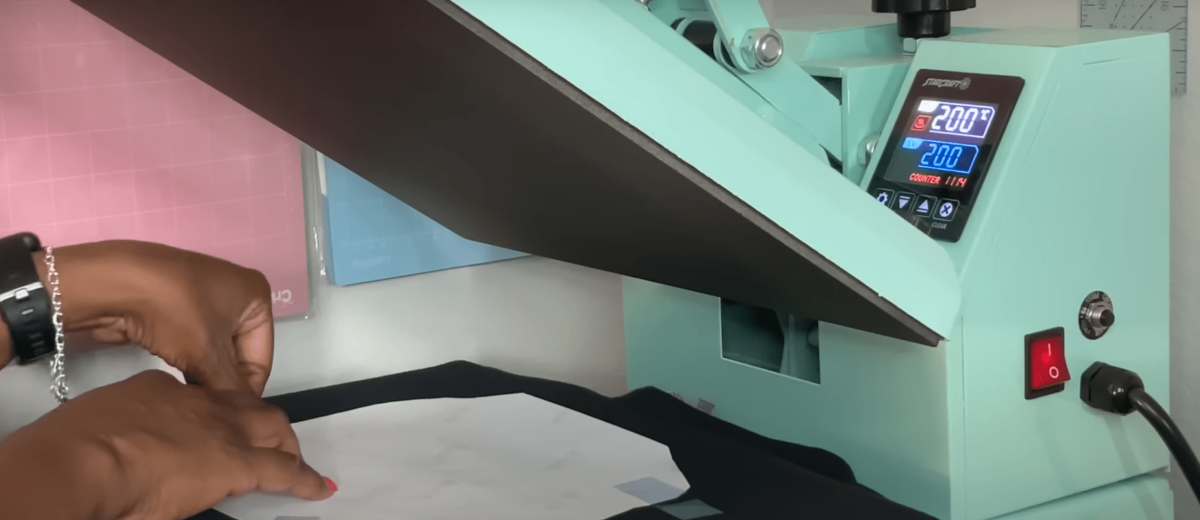


Image Credits: Crafting with Delonda
Voila! Your T-shirt is ready, and you can show it off by wearing it or shipping it to your customer.
We have done multiple wash tests on these t-shirts, and they still hold strong after 15 washes, which is like a miracle.
Important Tips in Brief:
- Use butcher paper when printing your Sublimation Design over HTV
- Do Mirror your Image and Offset layer before printing
- Make sure there is no lint or dust on your t-shirt before printing
- Use a Cricut Mat beneath your image or HTV when you cut them.
- Use the correct temperature, pressure, and time for your heat press machine.
I hope this tutorial was of great help to you. We encourage you to use this method now and explore the endless possibilities of sublimation printing.
