We have been doing Sublimation Printing for nearly 10 years now and we started it with a proper Sublimation Printer by Sawgrass. It cost us nearly $700 at that time and the print quality was top-notch.
A few years down the line, these companies started making high-quality inkjet printers and we discovered that we can convert those into sublimation printers easily. And how much do those inkjet printers cost? Roughly $200. That’s like saving $500 upfront which can be utilized to purchase supporting elements like paper, ink, etc.
Since then, we have more than 10 printers in our factory, and believe me 5 of them are regular converted inkjet printers. Due to bulk productions, we have to use a variety of printers, but trust me, if you are just starting and you wish to start this business from home, then these inkjet printers are the way to go.
Picture this: your dependable printer, but now it’s crafting vibrant, fade-resistant designs on all sorts of goodies. It was like discovering my printer could wear a cape — superpowers unlocked! Sounds amazing right? It’s all about creativity, a sprinkle of DIY, and a whole lot of sublimation ink magic.
Is every Inkjet Printer Compatible?
Before diving into this makeover, I wanted to check, was my inkjet printer even ready for such an adventure? Not all printers are cut out for the dazzling world of sublimation. It felt like wondering if my trusty car could handle a cross-country trip. A bit of detective work online and a chat with the manufacturer was all it took to find out my printer was ready for its new, colorful destiny.
Quick Tip: Wondering if your printer can join the sublimation party? Just hit up Google with “inkjet printer model + sublimation compatibility.” Places like forums, manufacturer FAQs, and tech blogs are gold mines. They’ll let you know if your printer’s ready to dive into the vibrant world of sublimation printing.
Secret Sauce
I believe you must be wondering, what’s the secret formula to make this transformation happen, right? The special ingredient is ” Sublimation Ink “. Your inkjet printers must have Sublimation Ink in their tanks to function properly. So remember, if you purchase a new printer, then do not pour the ink that comes with it, but fill it up with sublimation ink when the tanks are fresh and new.
But, if you are converting a working printer, then you need to clean your nozzle heads completely before you can do this experiment.
Note: As soon as you pour sublimation ink in to your inkjet’s inktanks, you void your printer’s warranty and you cannot take support from their customer team if anything goes wrong. So, you are carrying this risk all along.
Materials required
To begin with, we need the following items.
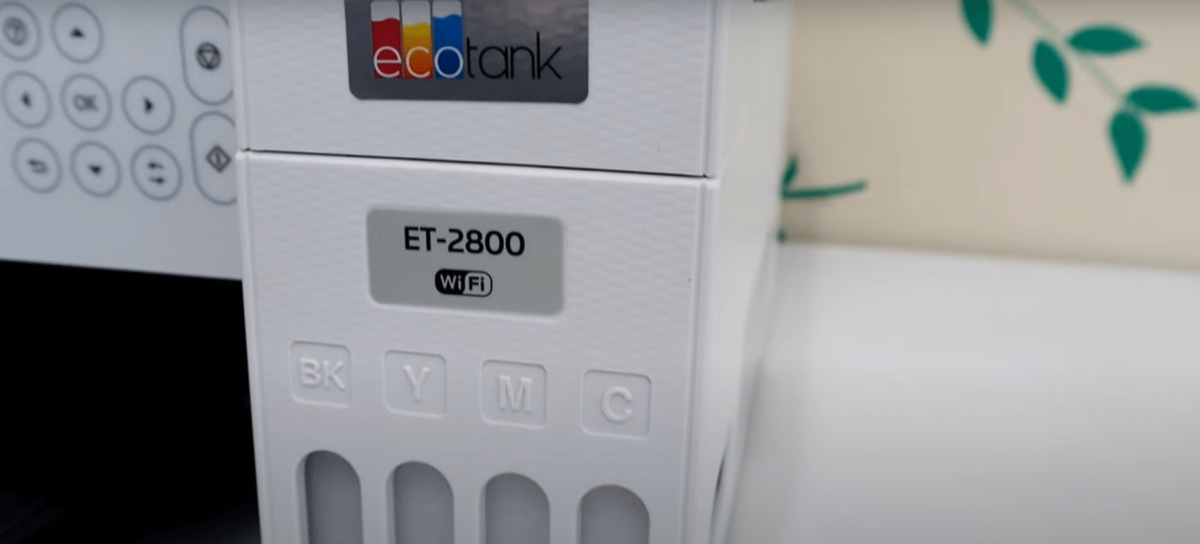
- Sublimation Printer: You can go ahead with Epson’s ecotank series. We are using Epson ET 2800 in this example.
- Sublimation Ink: We are going ahead with Hippo brand, but you can try it out with Epson’s Sublimation Ink (purchased separately) also.
- Sublimation Paper: You gotta test out the experiment with a proper paper and we recommend A-Sub or Craft Express.
- Funnel: If your Sublimation Ink doesn’t come with a funnel head to pour the ink, then you should use a good quality funnel to avoid any spillage or wastage.
Steps to convert an Inkjet to a Sublimation Printer
Armed with my supplies, I felt like a wizard ready to cast the ultimate spell. Here’s how it all went down:
Step 1: Unboxing the Printer
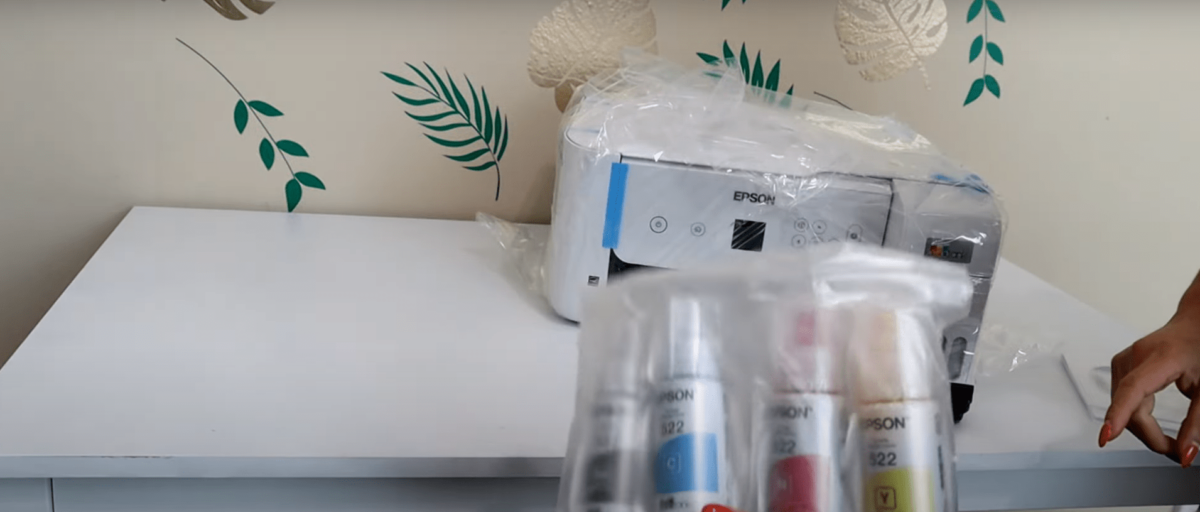
Like mentioned before, we used Epson ET 2800 for this conversion. You will get your printer, power cord, CD, regular ink in the box. Keep the regular ink aside as it can be used with some other printers. Open the hood that’s on the bottom right corner and you will see a set of 4 ink tanks ready to be filled up.
Step 2: Filling up the tanks
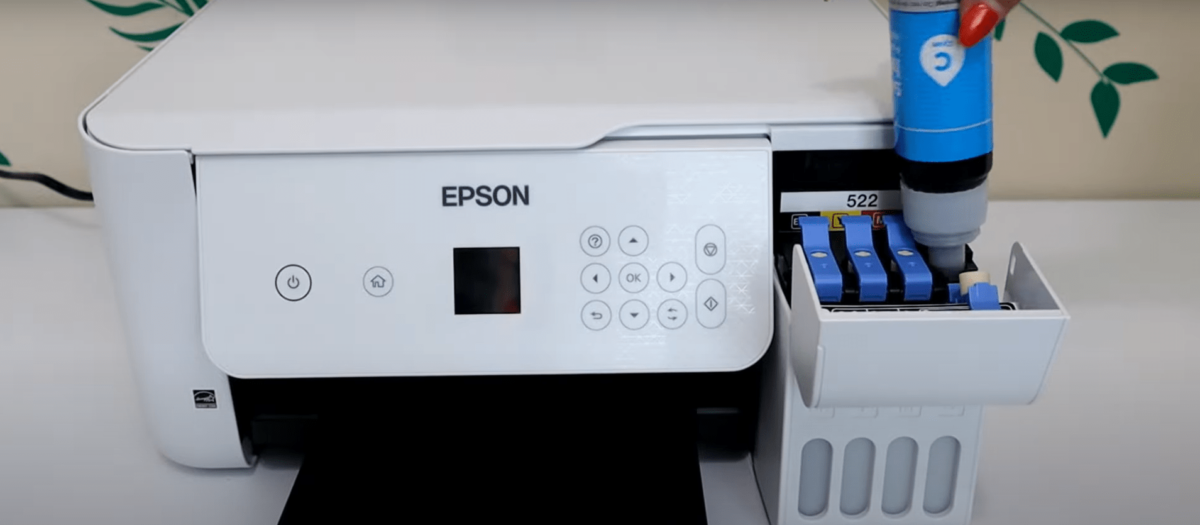
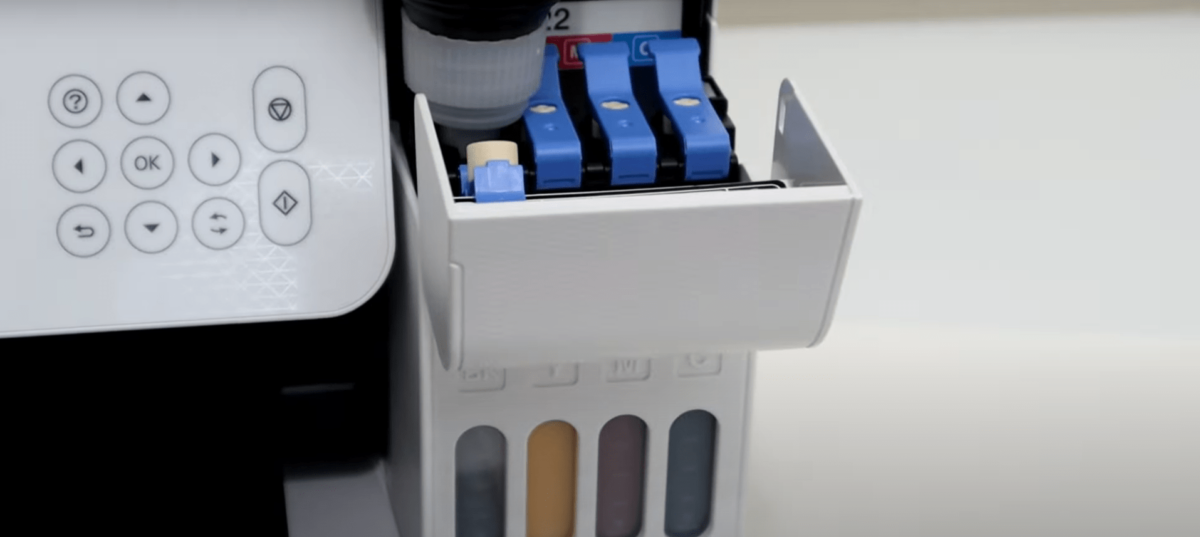
I then, took out the sublimation ink from Hippo’s box and opened them for pouring. It’s like adding paint to a palette, ready for a masterpiece. The best thing about this brand is, its so easy to pour from their bottles. Just open the cap, and place the bottle upside down on the tank’s opening. You will hear a click sound plus a gulping sound which indicates that the process has begun and you need to wait for a few minutes.
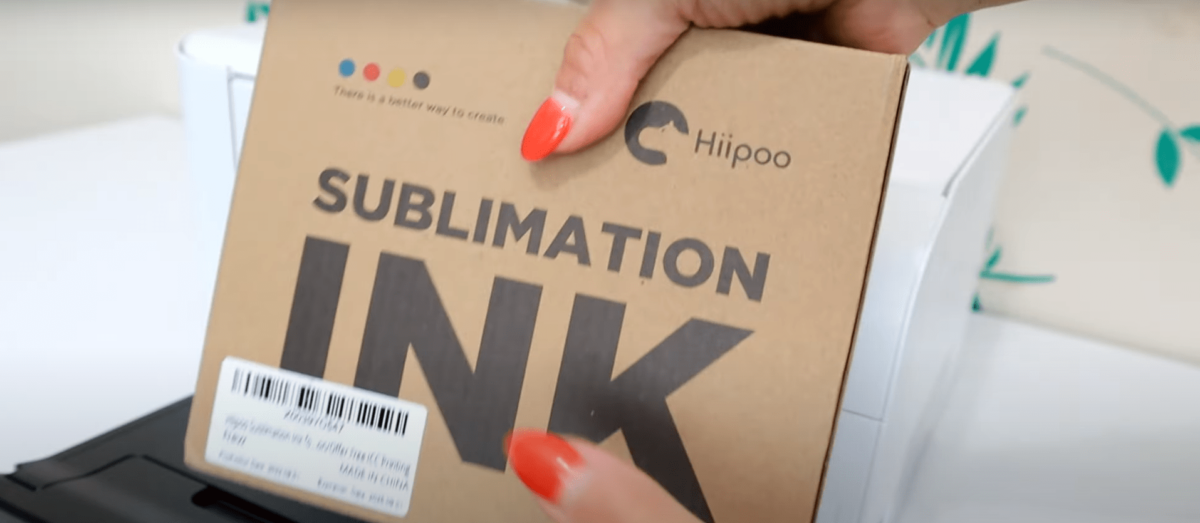
Do this process for all the remaining colors. You may find that your Black ink is more in quantity as compared to other inks, its because its used more. So use the required quantiy and keep the remaining aside for furthur use. There is a small display on the ink tanks which shows the current level of your ink.
Step 3: Configuring your Printer
You need to install the drivers of your printer by visiting the official website and searching for your model number. Choose the operating system and download your drivers.
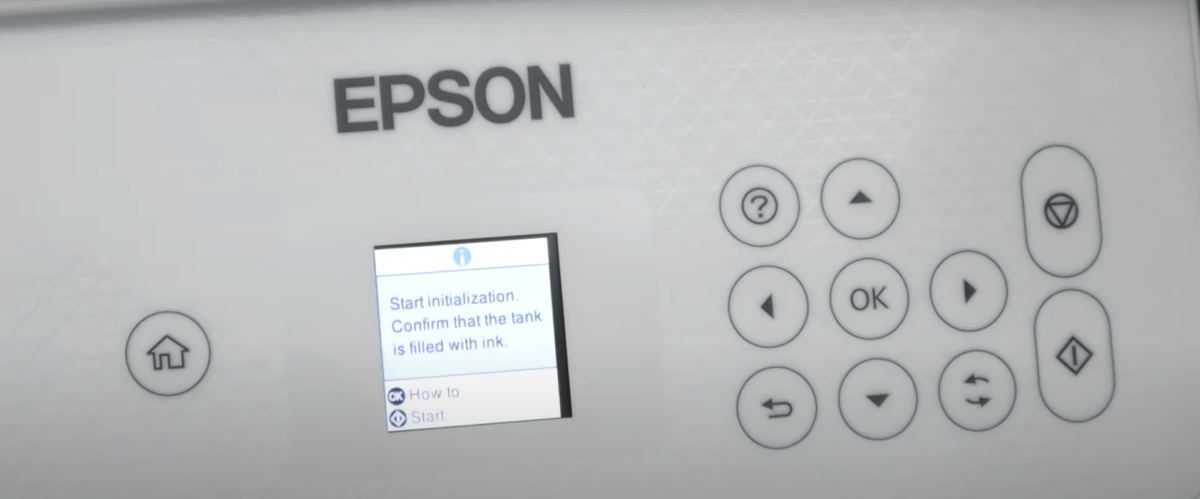
Your printer will give you an initialization pop up. Click Yes or do the same via your computer. It takes several minutes to load up these super powers.
I tweaked my printer’s settings to get it right for sublimation printing, setting the stage for vibrant prints. You can install the printer’s ICC profile and calibrate it with your monitor.
Step 4: Test Prints
Finally, the test prints! They were my first peek at the magic, and they shine. It was like the grand finale of a show, dazzling and colorful.
Living with the Magic
This transformation was just the beginning. Like any masterpiece, it needed care — regular printing to keep the ink flowing smoothly and some cleaning now and then to maintain the magic. Since these inks are thick, so do atleast 2-3 printouts every week to keep them running efficiently and not dry out.
Reflections on the Journey
Turning my inkjet into a sublimation printer was an adventure filled with joy and creativity. It tells how curiosity and DIY can breathe new life into old gadgets. So, if you’re pondering whether to embark on this colorful journey, I say, “Go for it!” Step into the world of sublimation printing and unleash your creative spirit. Who knows what incredible creations you’ll bring to life? Happy printing, my adventurous friends!

