
Tshirts, Fabrics, Acrylic, Metal, Mugs, Tumblr—Phew, we have sublimated all these blanks. What is left now? Wait, did you guys message us about writing about how to do sublimation on wood?
Our core belief is always customer-centric, and there you have it. Many people are putting efforts in the wrong place regarding wood sublimation, but what if we say, this is the easiest blank to sublimate? Yes, because we regularly do it, and we just love the output.
It’s so unique and vintage looking, that our customers aren’t shying away from ordering them repeatedly for their own house or gifting purposes.
Science Behind Sublimation on Wood
The wood absorbs the color to fuse the graphics deep into the surface. This makes the prints highly durable, creating stunning decor pieces. They won’t chip or peel like surface-level printing techniques.
You must keep just this one thing in mind. Your wooden blank should have a smooth surface, be it natural wood directly sourced from any offline/online marketplace or if you are going ahead with a sublimation wooden blank. You can turn a plain piece of raw wood into a colorful work of art or home decor.
In this article, I will explain 3 popular ways to do this. One uses Lamination Sheets, the second uses HTV, and the third uses a blank simulation. The reason is that people sometimes wish to get their customized image on real wood rather than blank.
But before we begin, keep these items ready on your table
- Sublimation Printer
- Sublimation Paper
- Butcher Paper
- Sublimation Wooden Blank
- Thermal Lamination Sheets
- Clear HTV
- Lint Roller
- Heat Resistant Tape
- Heat Resistant Gloves
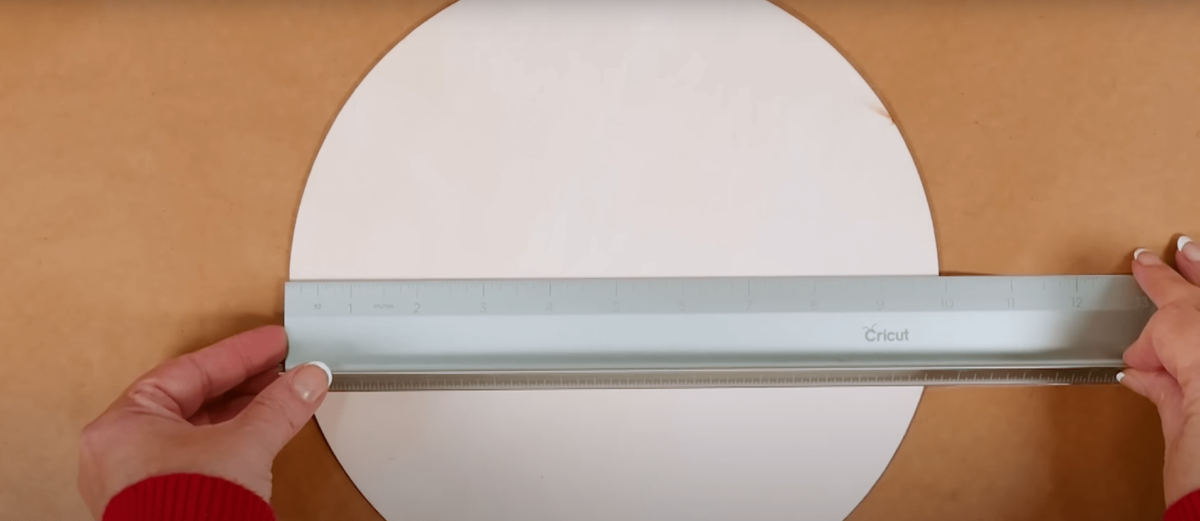
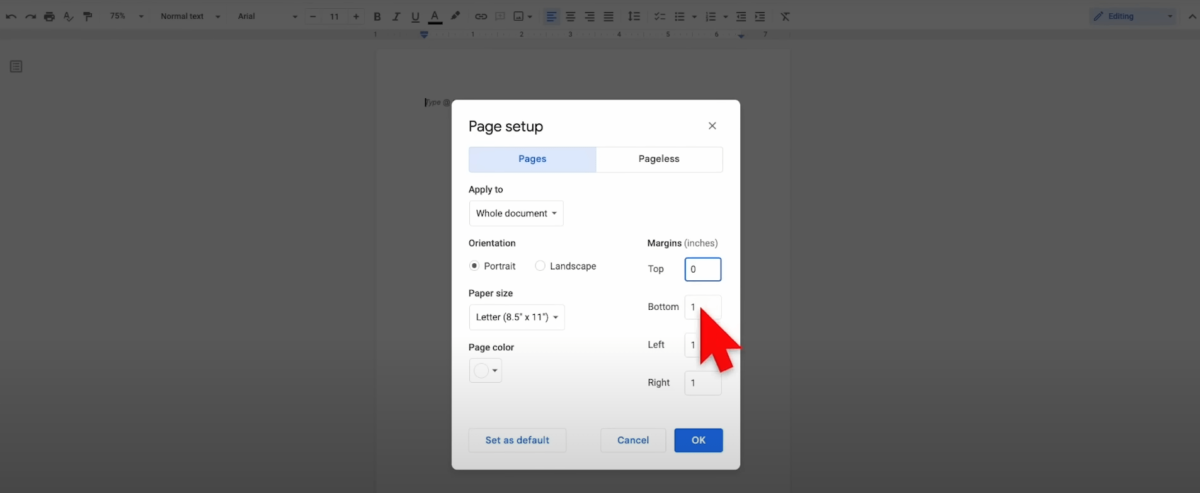
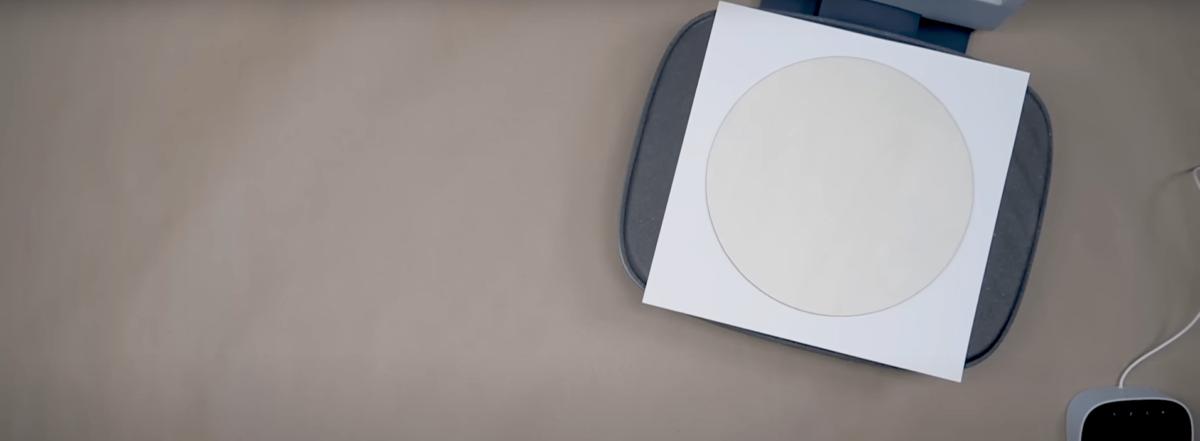
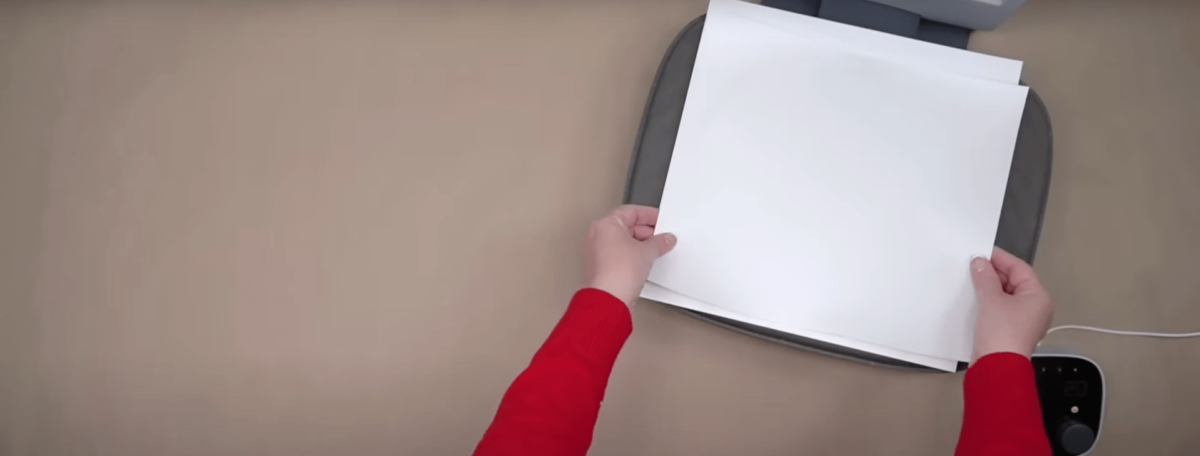
First, we need a good design for any method. Use software like Canva Pro, Silhouette Design Studio, or Cricut Design Space to create a design or upload a photo. Then, measure the wood’s dimensions and keep your design within those measurements.

I use 8.5″ x 11″ US Letter Paper, so I keep my canvas size the same. Once your design is ready, you can give a Print command, and do not forget to “Mirror Your Image”. Keep the Color Mode to “Adobe RGB” and choose the Best Quality possible.

I used A-Sub Sublimation Paper for my project, and I strongly recommend these along with my Sublimation Printer, i.e., Epson Ecotank ET-2760/4760
I also recommend doing this before proceeding with any method – Preheat your wooden blank.
Before starting your process, the most important step is to preheat your blank for at least 50 seconds to remove any moisture; otherwise, the print won’t turn out well.
To do so, place butcher paper on top of your heat press base plate, then add your wooden blank and cover it with another piece of butcher paper. Then, heat your blank.
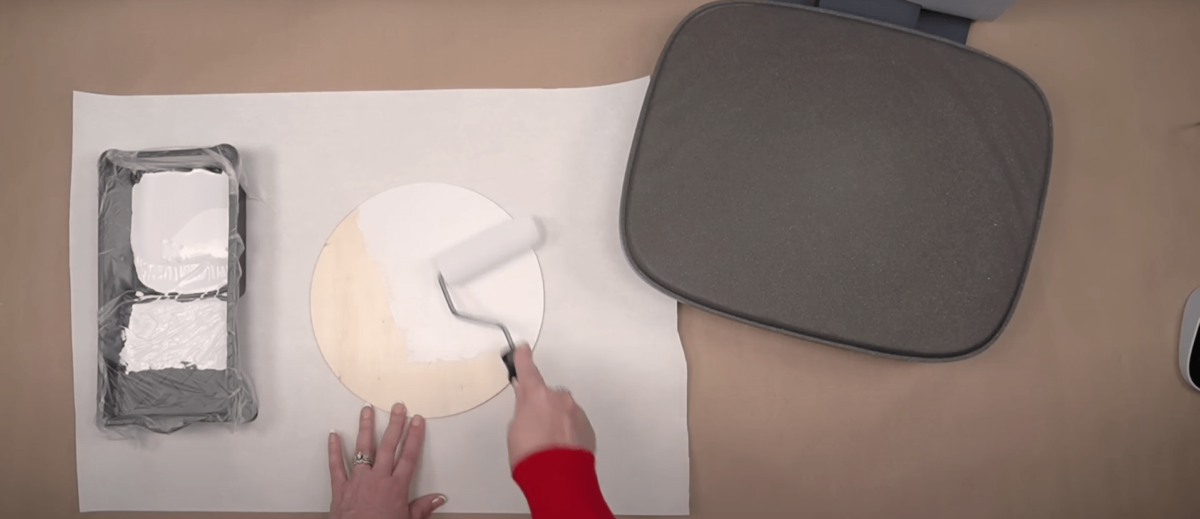
You can also paint your blank with any color (I prefer white) to avoid warping it up and give it a smooth texture.
So, without further ado, let’s dive into our first method.
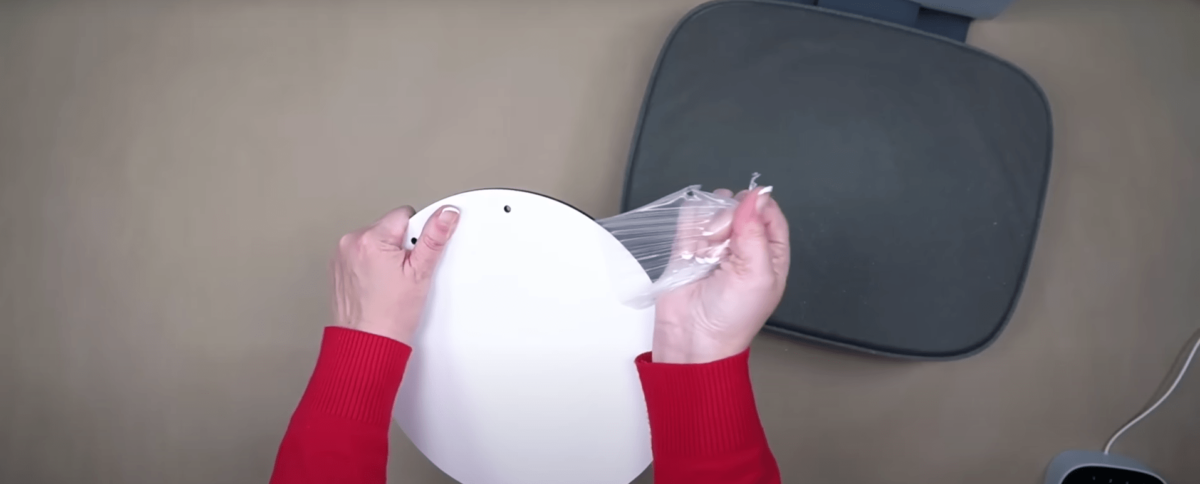
Method 1: Sublimation on Wood using a Lamination Sheet
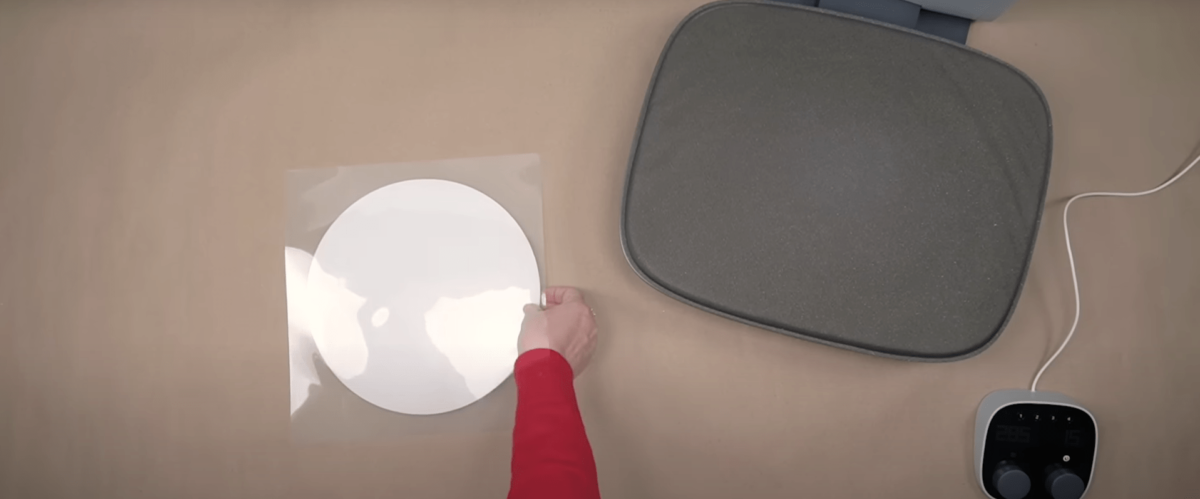
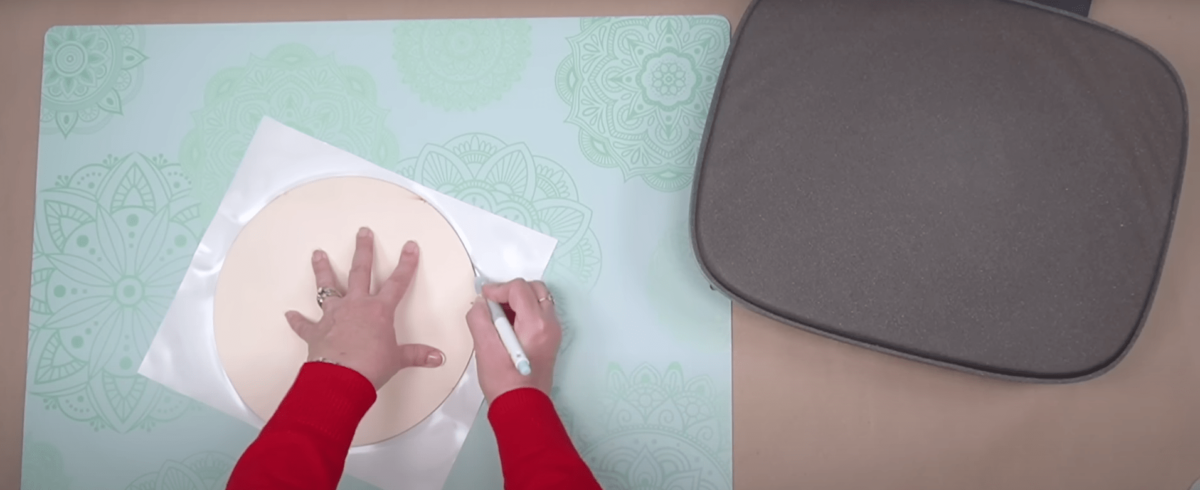
Step 1: Cover Your Blank with a Lamination Sheet
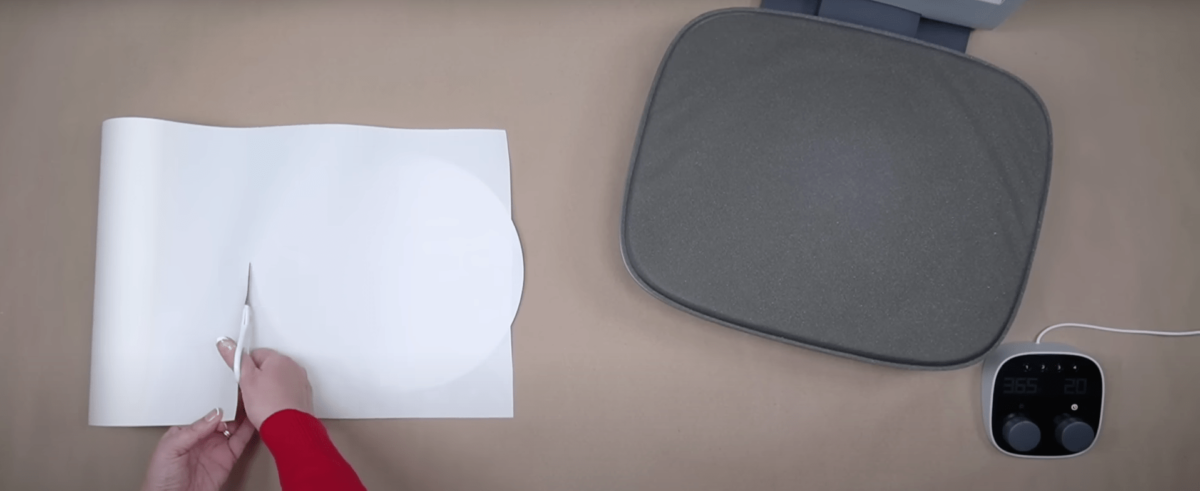
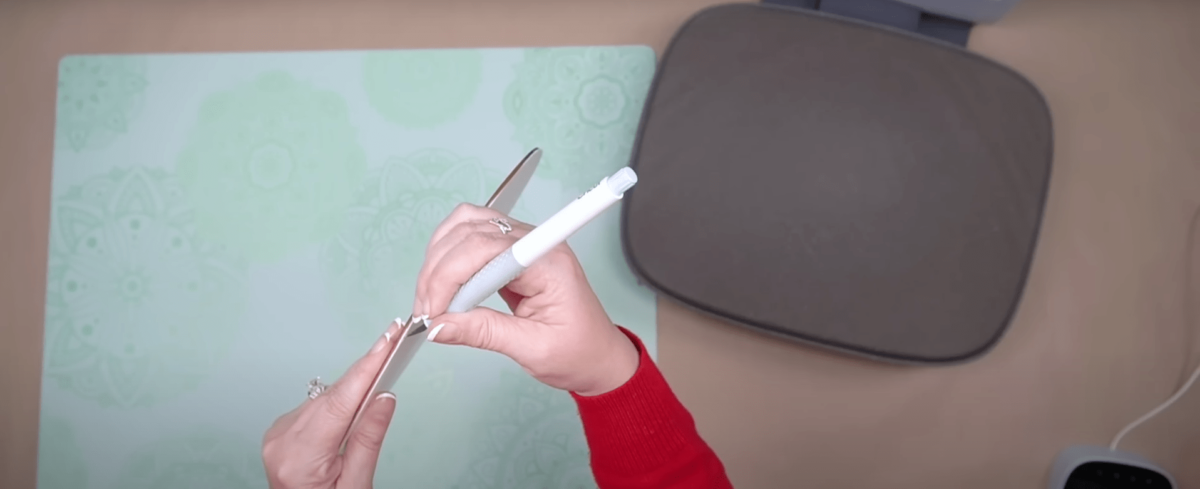
You can get any thermal lamination sheet from the market or Amazon, but avoid purchasing a very thin sheet. Take your blank and place a lamination sheet on top of it. Cut out any extra sheet.
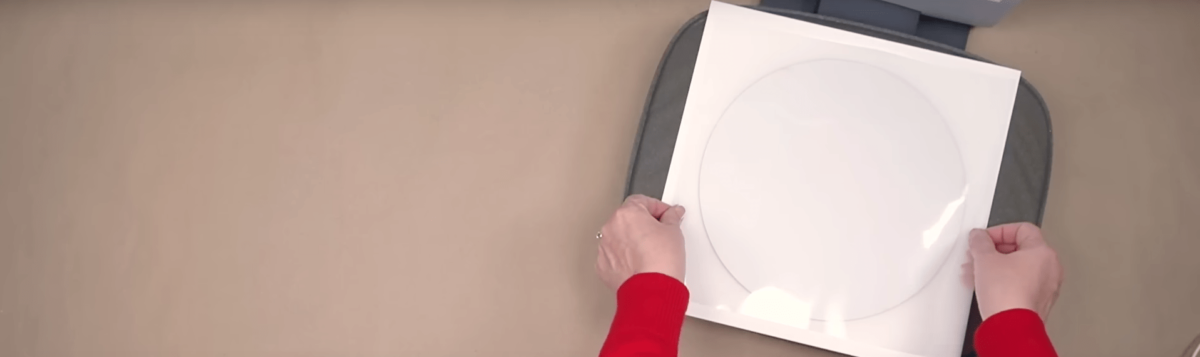
Step 2: Laminate your Blank
Place white cardstock or butcher paper on your heat-press base. Place your blank on top of the paper and cover it with the lamination sheet you just cut. Make sure to put the matte side on the blank, and the shiny side should face you. Now press for 15 seconds.
Your wooden blank is ready with a lamination on top. If it sticks to your butcher paper, gently remove it, and cut out the extra part covering your blank using a sharp blade.
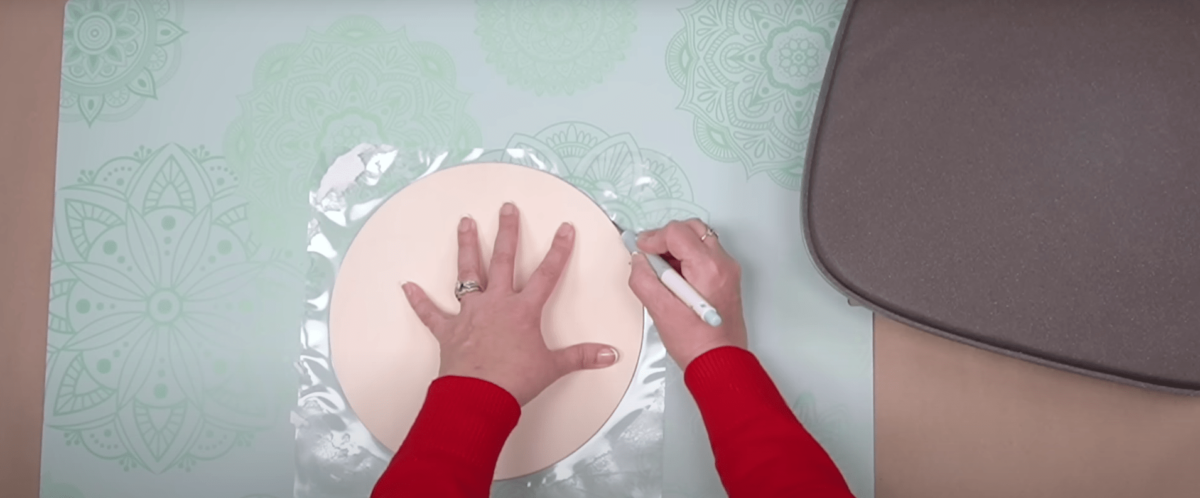
Step 3: Sublimate Your Design
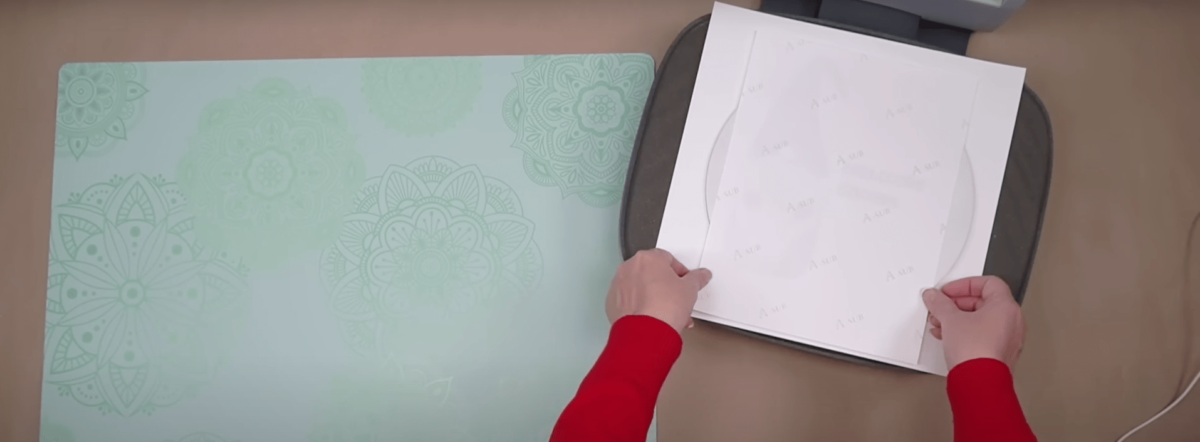
Now comes the time to sublimate it with your design. Gently remove the extra white area around your design. You can manually cut out that area or use a Cricut Maker.
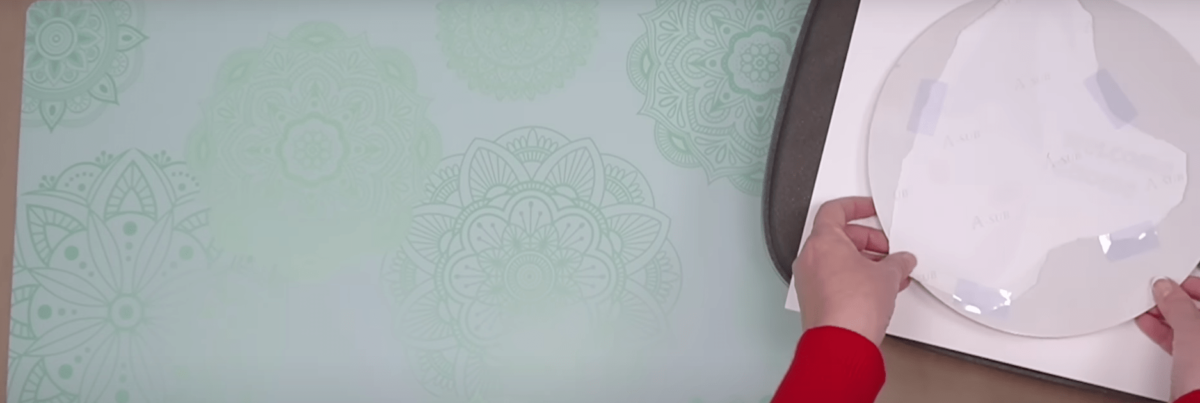
Now, place your design facing down on the recently laminated blank. Secure your paper by applying heat-resistant tape around it.
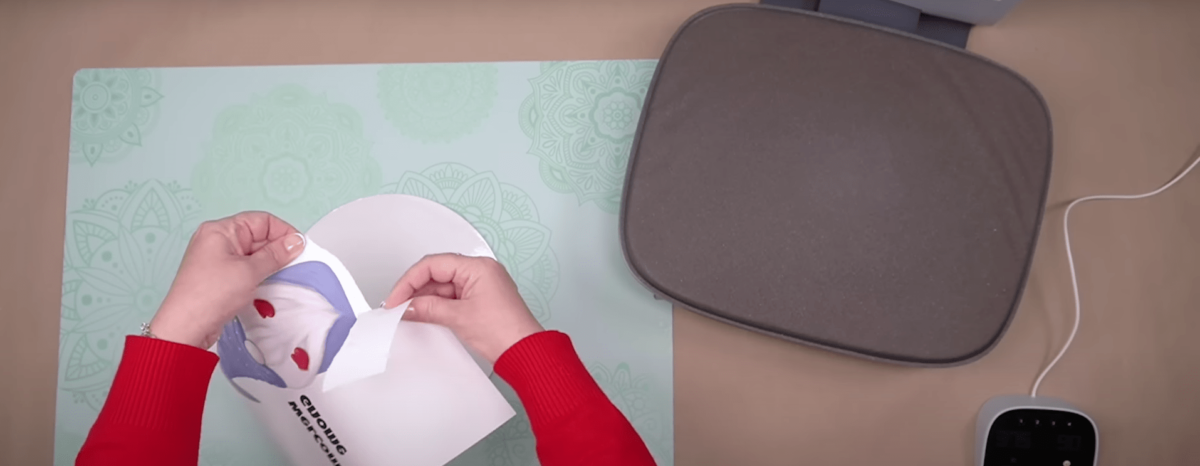
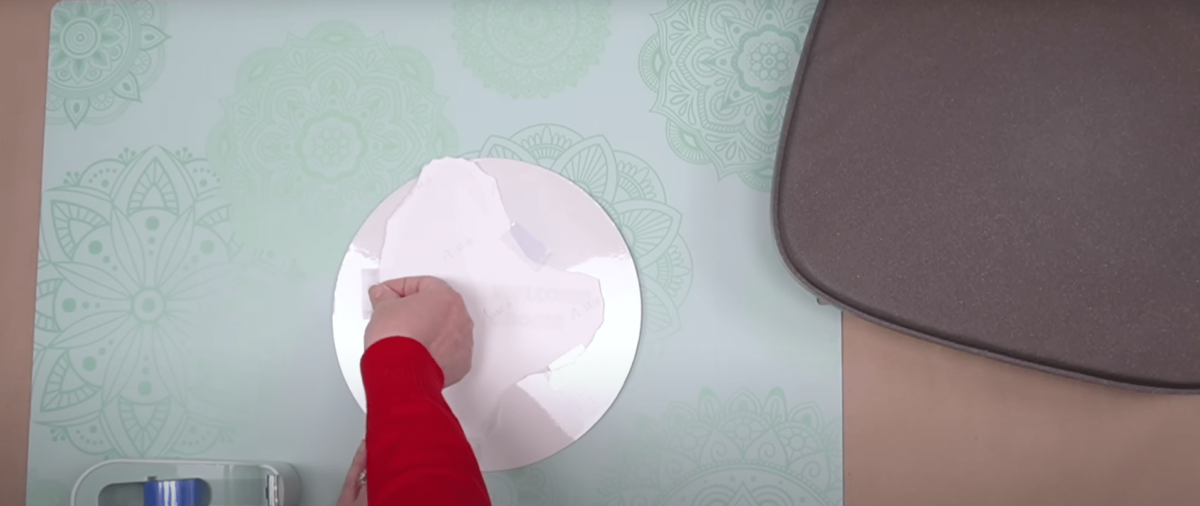
Set your heat press at 375F and the time to 90 seconds. Now, place your blank facing up, meaning the sublimation paper should face you. Cover the blank using butcher paper.
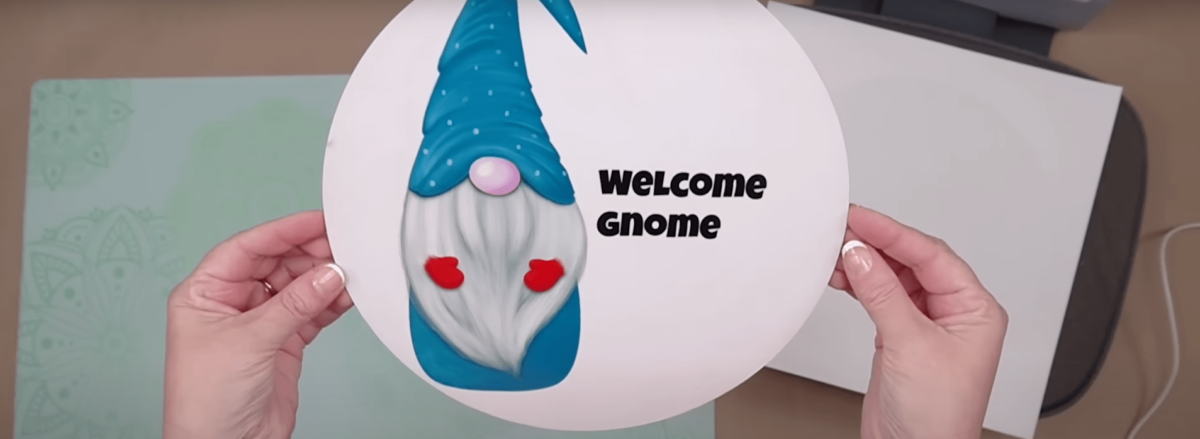
Press your design for 90 seconds. After that, remove your blank from the press and let it cool down. Remove the butcher paper, and your beautiful design is ready.
Method 2: Sublimation on Wood using Clear Dye HTV
Step 1: Add HTV to your Blank
Use a lint roller to remove dust from your blank. Place a Clear Dye HTV sheet on top of your wooden blank, making sure the sheet is slightly larger than the blank.
Put butcher paper or white card stock on your heat-press base plate. Now, place your painted blank on the butcher paper. Take your HTV sheet and put its matte side on the blank.
Cover this arrangement with butcher paper. Now, press for 20 seconds and keep the temperature around 320F
After heat pressing, let the wood cool down (use heat-resistant gloves if necessary) and trim out any extra HTV from the sides of your blank. Now, carefully remove the extra protective covering on your HTV using a weeding tool.
Step 2: Sublimate Your Design
Place butcher paper or white cardstock on your heat-press base plate. Put the wooden blank on top, with the HTV side facing you. Place the sublimation paper on your blank. The design side should face the blank. Secure your paper using heat-resistant tape.
Now, heat press at 380F for at least 50 seconds. The design sublimates quickly on HTV compared to a Laminate sheet. When the time is up, use heat-resistant gloves to remove the sublimation paper from your blank while it’s still warm. Otherwise, it may leave a paper residue. If that happens, use a sponge to remove it.

Method 3: Sublimation Wooden Blank
If you do not wish to spend time adding HTV or Laminate sheets to your blank, then go ahead and purchase a sublimated wooden blank. It makes the process easy and produces the best result possible.
Step 1: Prepare your Blank
Remove the extra protective layer from both sides of your wooden blank. The print will only stick to your blank if you sublimate with removing it. Don’t reheat your wooden blank for at least 10 seconds to remove moisture. Before preheating, you should also use a lint roller to remove any lint or dust from your blank.
Step 2: Sublimate Your Design
Place butcher paper or white cardstock on your heat-press base plate. Put your blank on top of it. Cover it with your design and secure the area using heat-resistant tape.
Protect everything by placing a butcher paper on top of it. Now press for 90 seconds at 365F. You can adjust the time and temperature using your heat press.
Once the time is up, carefully remove the sublimation paper, and voila! Your design is ready.
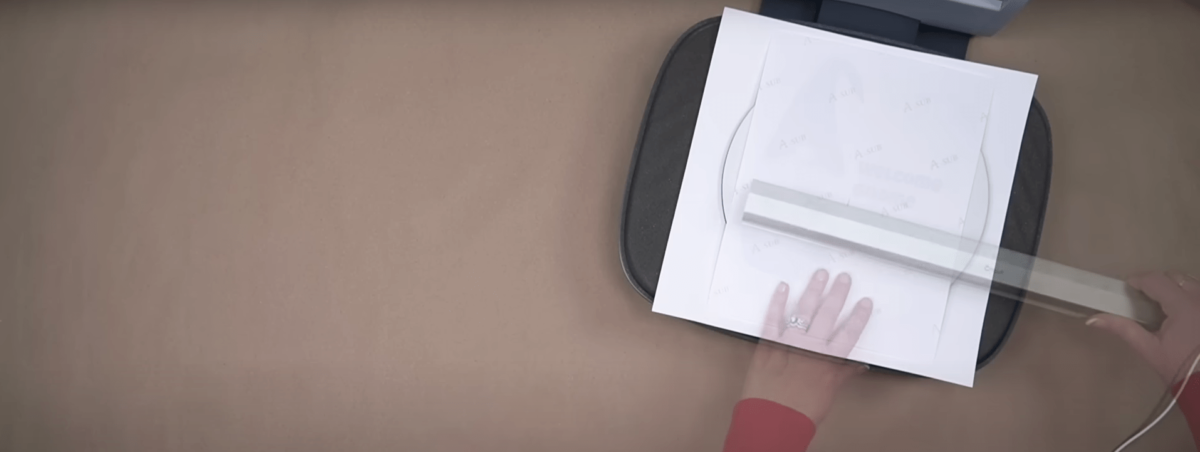
Image Credits: Jennifer Maker
7 Tips for Sublimation on Wood
- Choose light-colored, close-grain pattern wood that can tolerate the heat from the press.
- Make sure the wood is sanded and smooth before applying the coats.
- You should always use a warmed-up heat press.
- Use the glossy side of the laminating sheet as a coating. It should face up.
- Use less coating. More coating doesn’t enhance the image and doesn’t
- Before sublimation on wood, always press your wood first! It’s a natural product, and structure can spoil the transfer.
- Use parchment paper to protect the bottom of your press machine from scratches.
Conclusion
To sum up, achieving the desired results from sublimation on wood is easy. You should use the proper techniques, tools, and machines. You can create stunning designs, home decor, gifts, and other art once you get the hang of it.
Follow the process and expert tips I provided above, and you can easily create excellent wood sublimation projects!
FAQs
Can I sublimate wood on finished products?
It is possible but challenging to sublimate the final wood products. It’s best to sublimate before it’s shaping them. For decor pieces like trays or boards, only sublimate if they are unfinished or sealants can be removed.
Is there a particular wood for sublimation?
For sublimation on wood, you can use woods like poplar, birch, and aspen with fine, consistent grain. Very porous wood can over-absorb inks, resulting in muted colors. Dense tropical woods are less suitable than their tight grain and resist accepting sublimation dyes.
